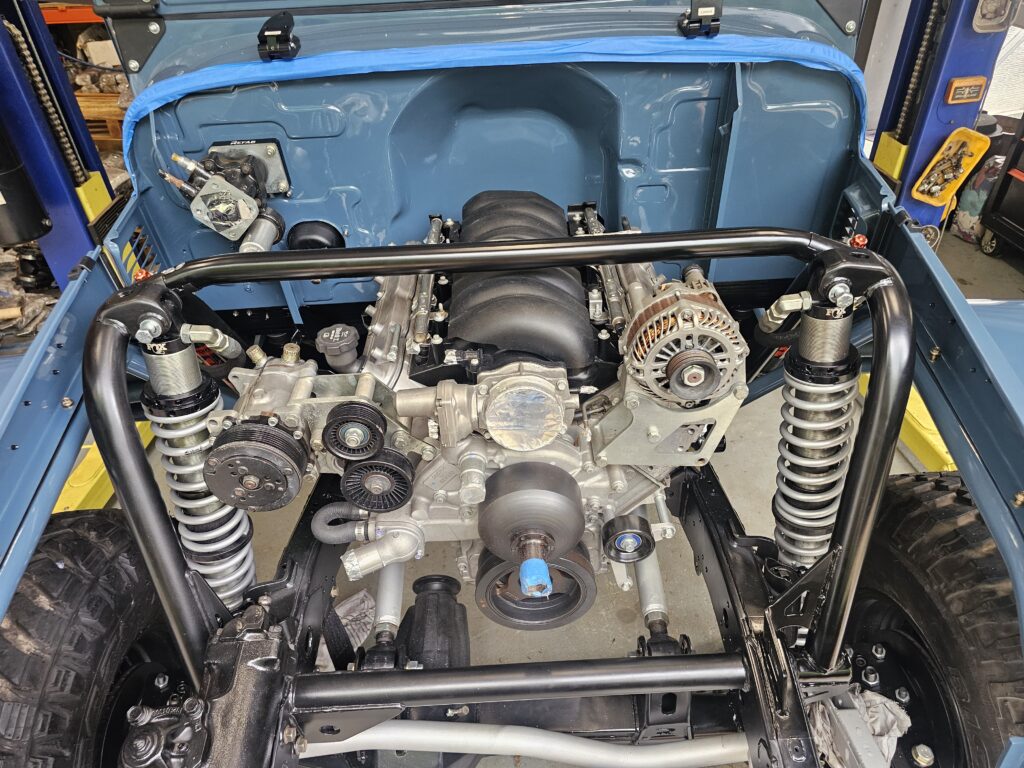
40 Series Land Cruiser / 80 Series Engine Mount Fitting Intructions
Make sure you read Gearbox Cross member guide to prepare the gearbox crossmember before starting !
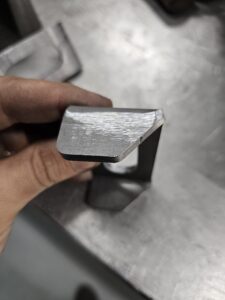
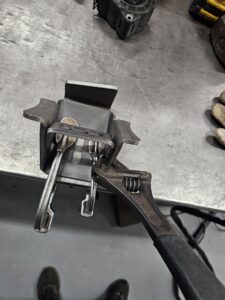
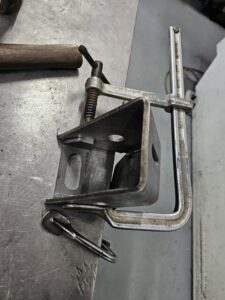
The best way to square the mounts is by using a solid steel bench and G-clamps. This method requires fabrication techniques to ensure proper fitment. The steel bench provides a stable and accurate surface, while the G-clamps securely hold the components in place, allowing precise alignment during the fabrication process. Proper measurement and adjustment are key to achieving the correct fit.
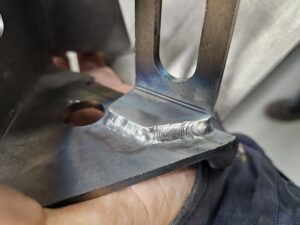
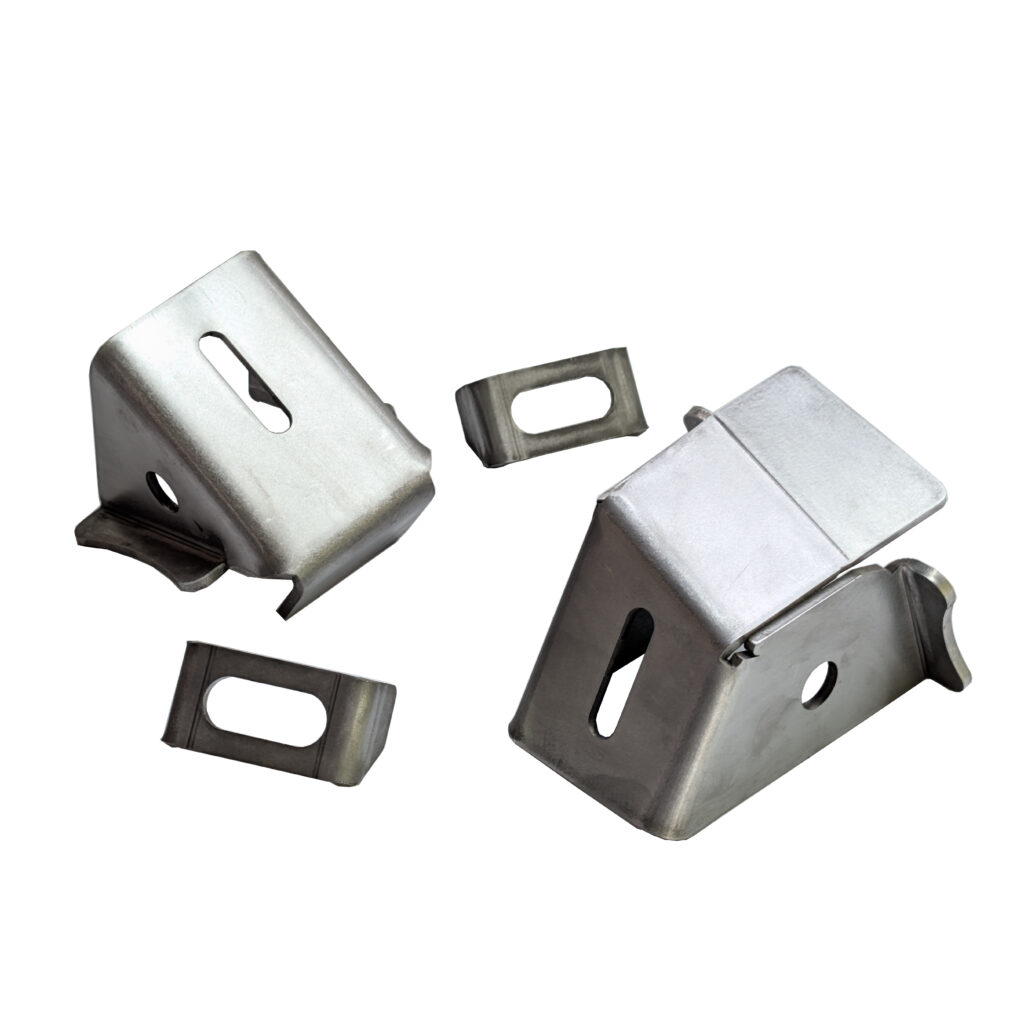
The internal gussets should be positioned with the angled part facing the front of the mount. Additionally, ensure there is at least a 10mm gap to allow for a 6mm weld.
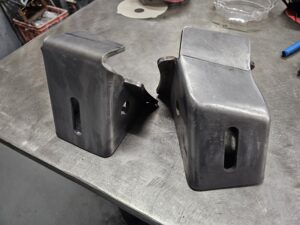
The larger mount is fully welded, and the weld is then metal-finished for a factory-like appearance. To achieve this, the weld is carefully ground in one direction using a flappy disc, gently shaped to match the radius, and finished with 120 grit on an orbital sander for a smooth, polished look.
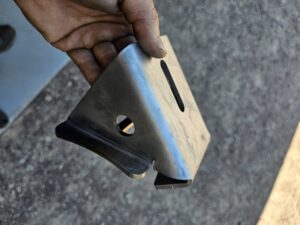
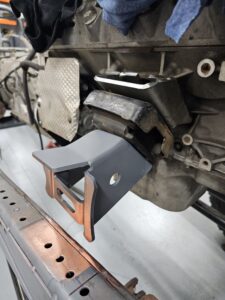
This is a important step you can see a relief cut for bending above the flanges make sure you weld these up to insure it doesn’t become a weak point.
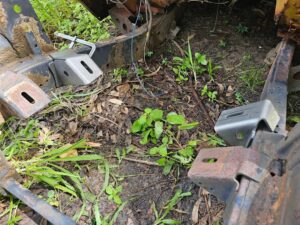
Once the engine mounts are ready, ensure you identify which side each mount goes on. The larger mount should be placed on the differential (diff) side, which is typically the driver’s side. This comparison is made next to the factory mounts to help with proper placement.
-
Engine Adapters Compatibility: Any engine adapter designed for the 80/105 series will work with the engine mounts, as these mounts share the same angles and heights as the factory mounts, though positioned further back.
-
Engine Adapter Options: Various adapters are available for different engine types, including LS, Barra, M57, 6BT, and factory engines like the 1HZ, 1HDT, FT, and FTE.
-
Key Points:
- Aftermarket mounts should be installed according to the manufacturer’s instructions, ensuring the correct parts are used.
- Factory Toyota engines are equipped with 80 series block mounts. It’s crucial not to use mounts from the 70 series, as they differ in design.
- When fitting the engine, always use factory 80 series rubber mounts, from Diesel models.
- The engine mount metal shrouds are essential. They prevent engine damage in case a mount breaks and help maintain the correct height for the engine.
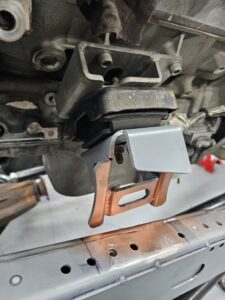
Once the block mounts are correctly fitted, loosely assemble all the parts on the engine.
- Mount gear box crossmember to gear box Follow the gearbox crossmember Instructions make sure you have the correct gearbox mount rubber. Read all details.
- Prep the chassis for welding
- Afterward, the engine is ready to be craned into the chassis.
Weld-through primer is a specialized coating used to protect metal surfaces from corrosion.
Preparation
Welding
- Once the parts are tacked and prepared for welding, it’s important to clean the edges, even if wire attachments are used. While the design allows for welding through paint, welding on bare metal typically results in better weld quality.
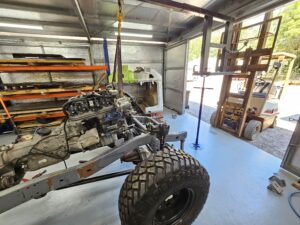
Get engine ready to be craned in !
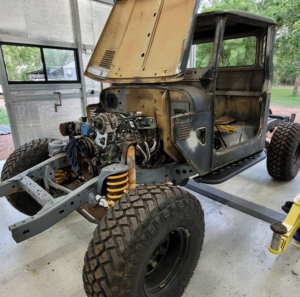
These next steps are important please read carefully
When mounting the engine, follow the Refab body mount guide and ensure the body is positioned correctly. There’s no fixed location for the engine, as the engine mounts self-align for proper centering.
Key rules to follow:
- Set the engine 10-15mm away from the firewall, ensuring sufficient clearance. Always consult your engineer before finalizing.
- To ensure proper engine assembly, make sure all accessories and components, like the inlet, are properly installed. This will help maintain correct clearances between the parts and the car body,
- Depending on factors like engine fan setups, intercoolers, and engine sizes, tighter clearance may not always be necessary.
After roughly positioning the engine with a crane, attach the gearbox crossmember. Once bolted to the gearbox, mark a centreline on the crossmember and align it with the centre of chassis. Use G-clamps for a dummy fit before finalizing the engine placement.
Read Gearbox crossmember Guide to Correctly fit.
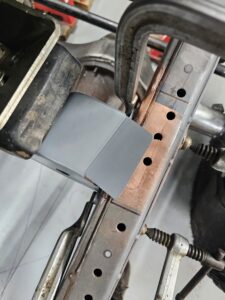
Once the engine is lowered into place, use G-clamps to secure it, ensuring everything is square and aligned correctly with the chassis.
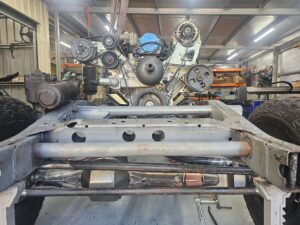
Important information
The picture explains that a sling is used on one side of the engine to lift it and level it out, ensuring the oil sump is level with the chassis for correct fitment. Before lifting, check the adjustment in the engine mounts, as they might need modification, especially with aftermarket block mounts. This can be done by drilling a hole and using a die grinder burr for slotting.
Before tacking everything, ensure that the centre line of the crossmember is still aligned with the centre of the chassis.
Don’t weld anything until the project is finished This allows for easy adjustments or changes later because the parts can be moved or re-positioned without much difficulty.
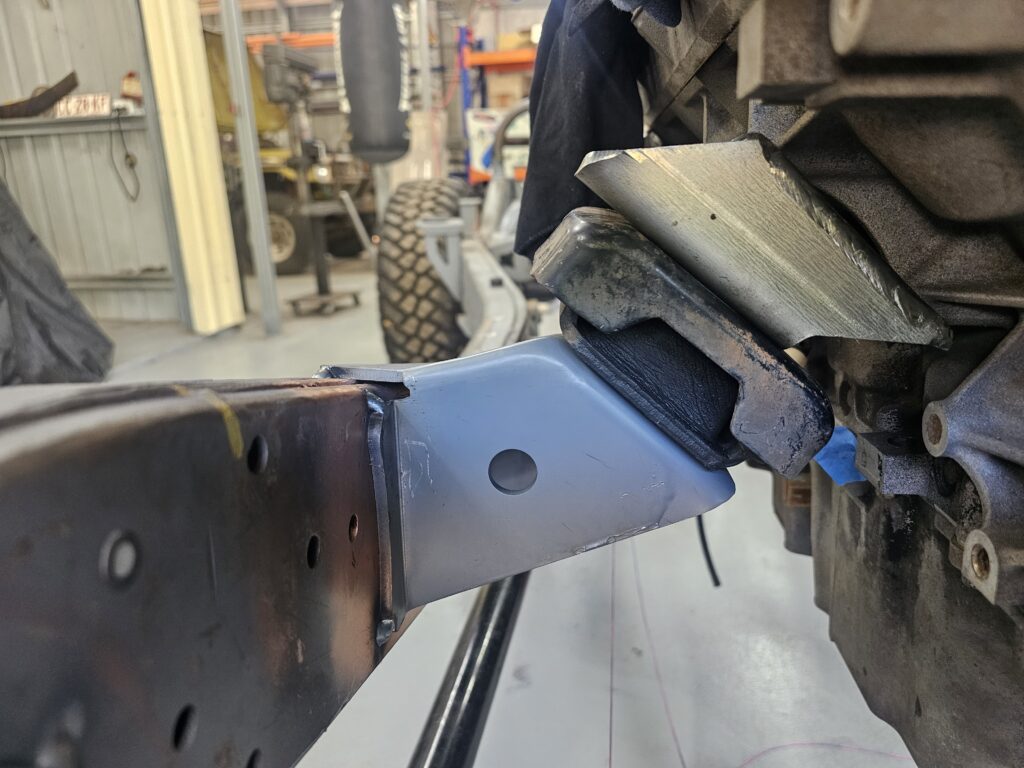
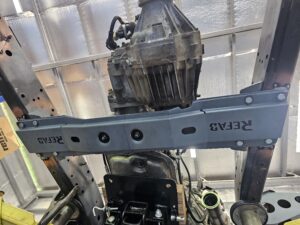
Before finishing the engine installation, remove the coil springs and position the axles at full bump to ensure proper clearance. There are various aftermarket accessories available to adjust locations for engine parts, especially for 4×4 conversions. Additionally, it’s advisable to string line the axle and transfer case flanges to simulate driveshafts and check for clearance.
Read Gearbox Crossmember Guide
