80/105 Series Land Cruiser Rear Chassis Brace Fitting Guide
Preparation!
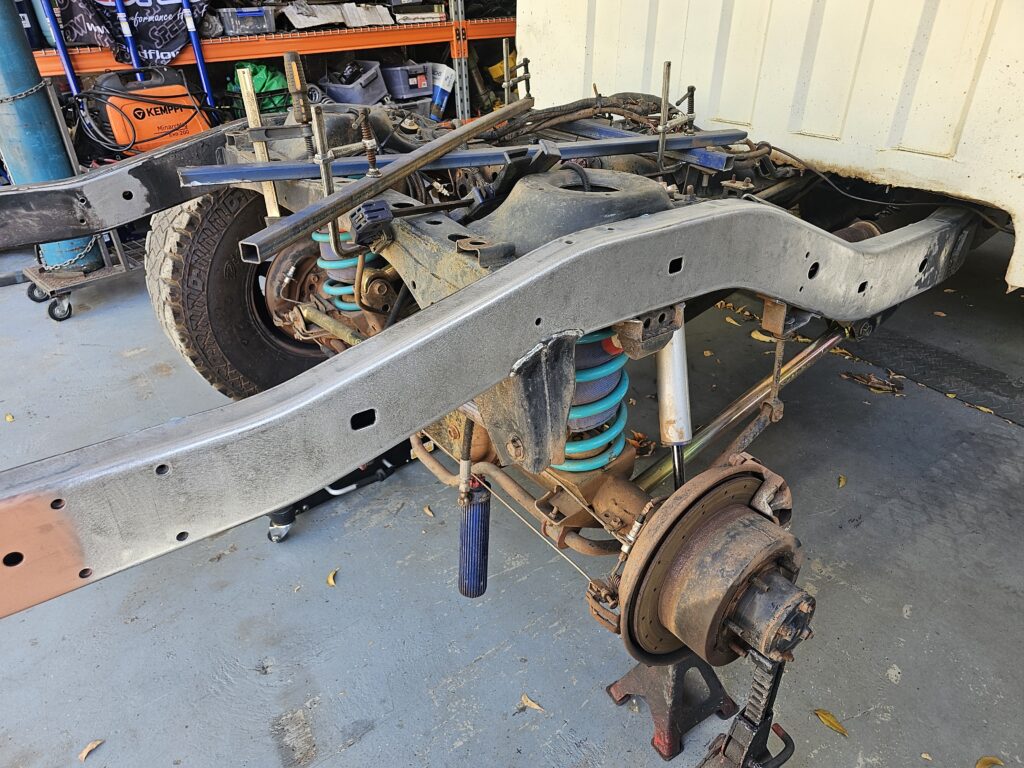
Strip the chassis down to bare metal to ensure the cleanest possible welding surface. This removes all surface rust and contaminants, promoting stronger, cleaner welds.
Important step !
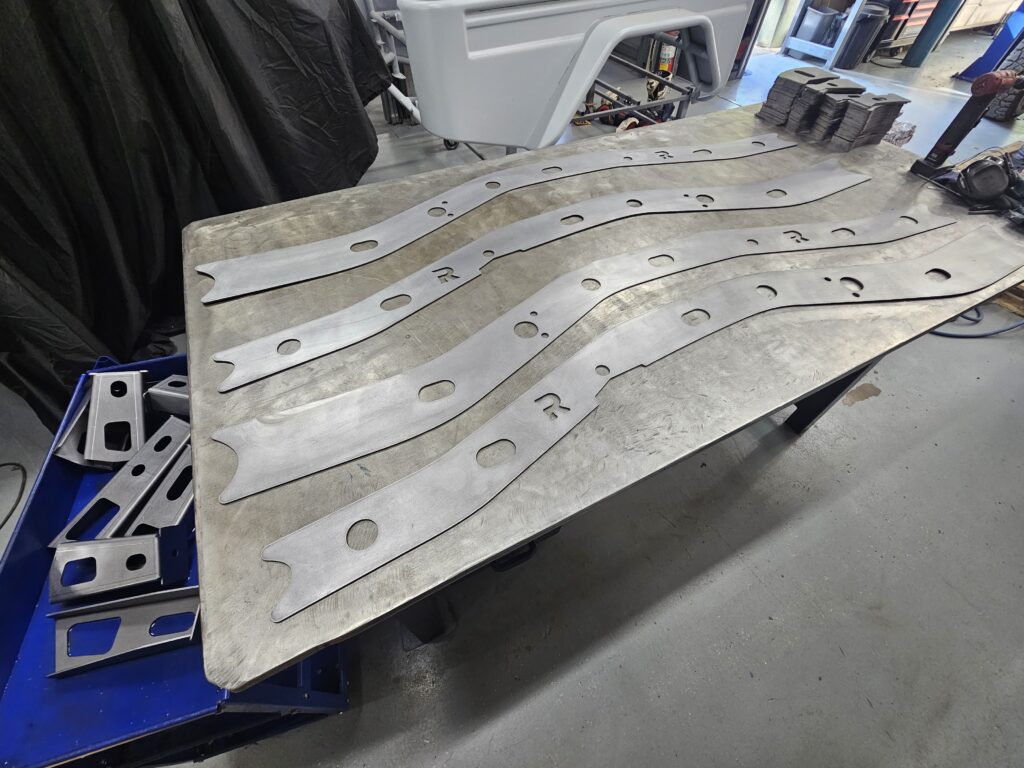
Unlike our laser-cut products, these parts are CNC plasma-cut in-house, which can leave some surface contamination. To clean them, use a wire wheel or light sanding disc on the edges, and a die grinder for the holes.”
Once all surfaces are prepared.
-
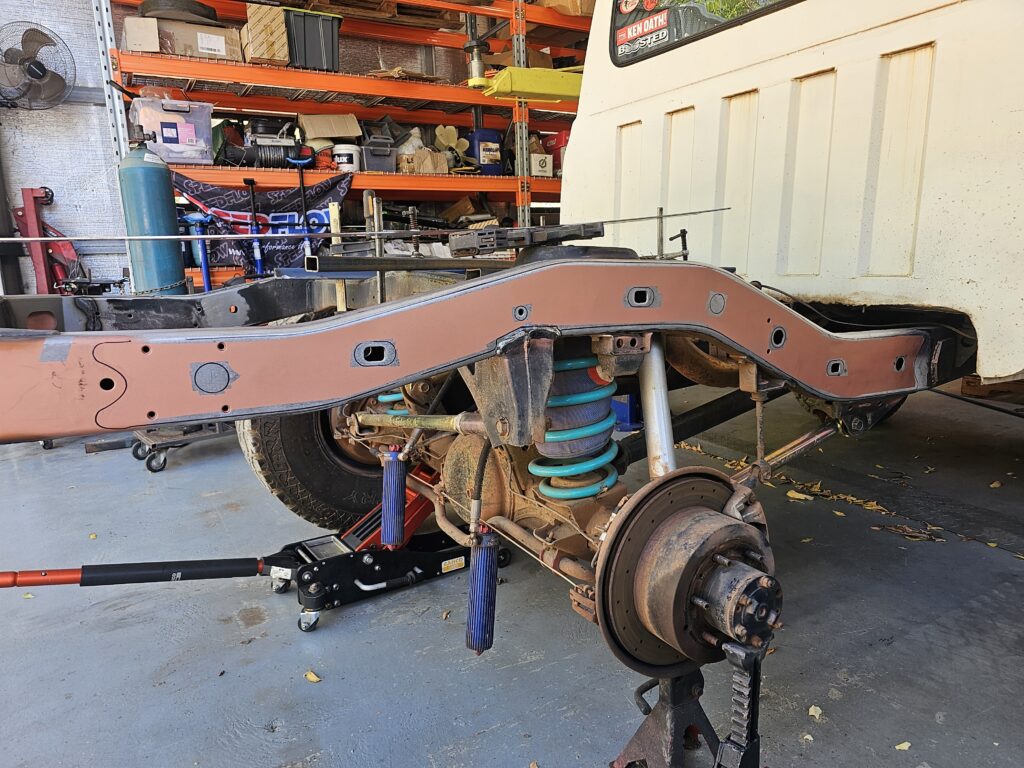
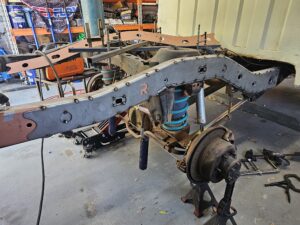
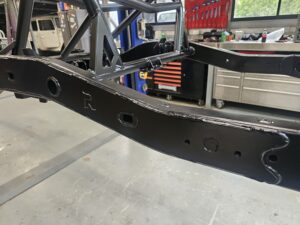
The chassis brace comes in left and right pieces.
-
The piece with the cutout for the Panhard mount goes on the driver’s side.
-
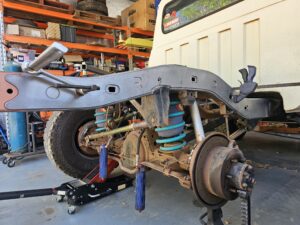
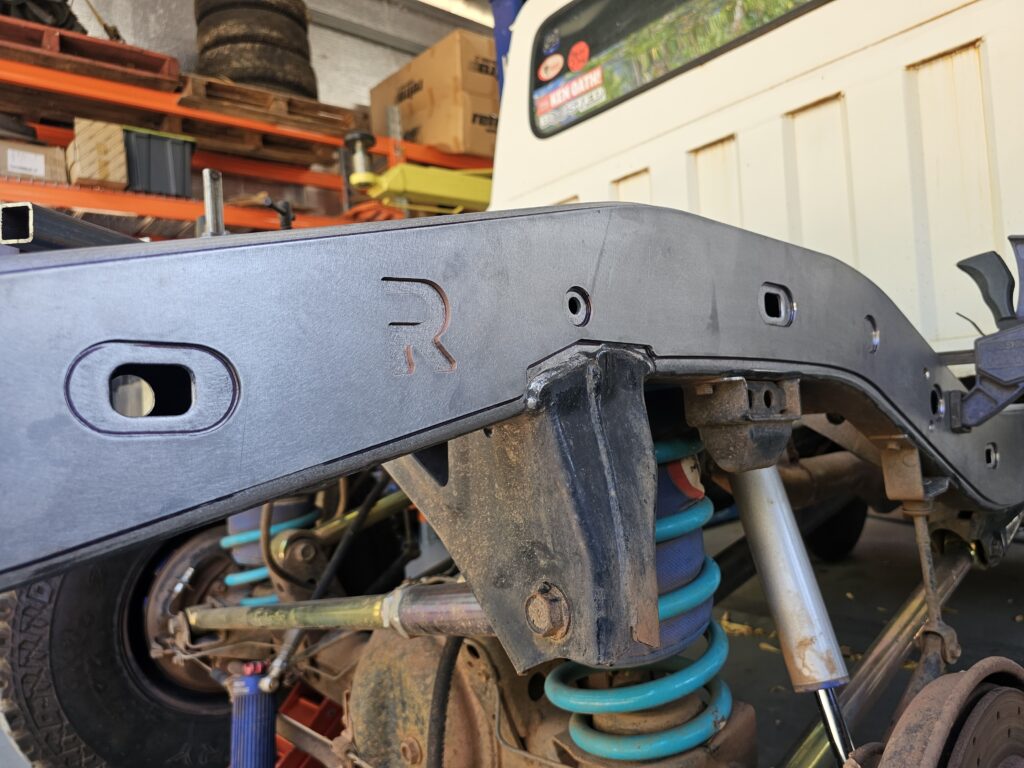
These braces are designed to support both kinks in the chassis rail.
-
For wagons or dual cabs, modifications may be needed if the factory body mount obstructs the brace.
-
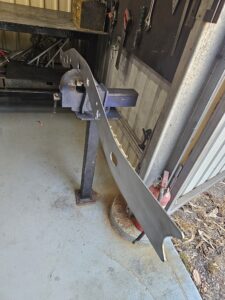
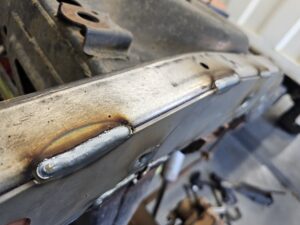
Ensure any cuts for modification match the original tapered ends to properly distribute stress and pressure.
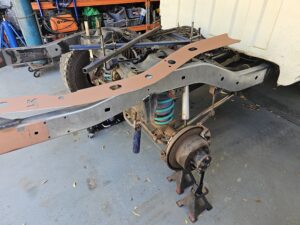
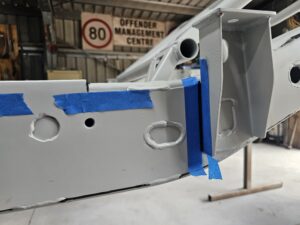
Mark around Chassis bracing with a sharpie or chalk
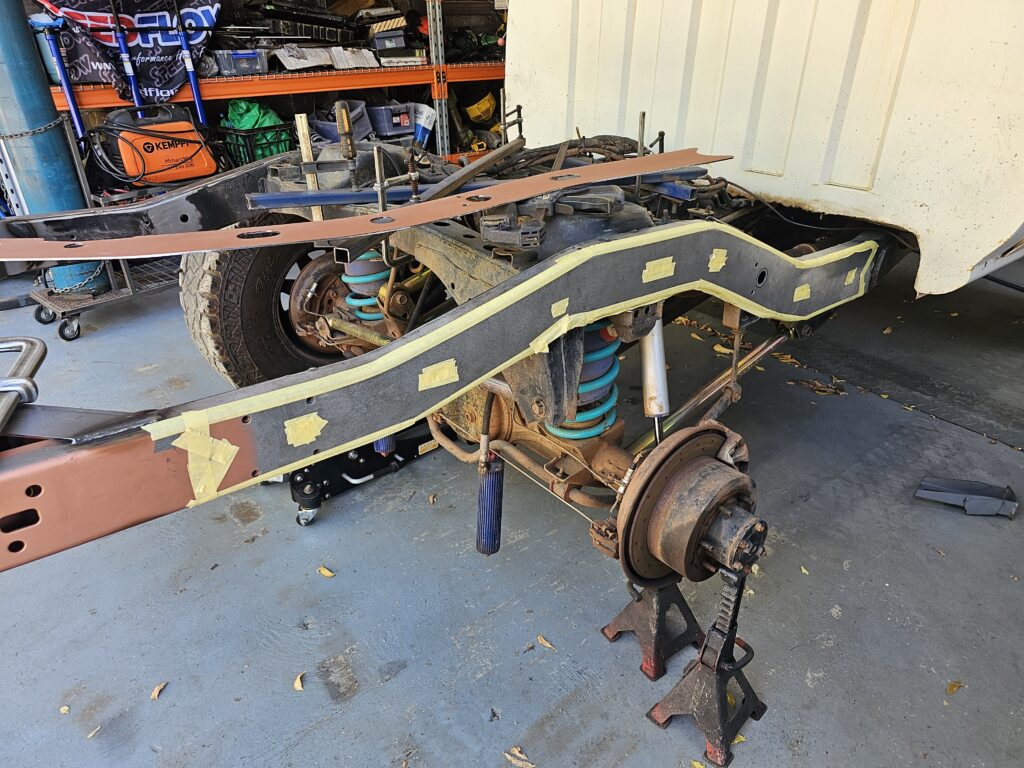
Mask up all areas where you are welding.
Weld-through primer is a specialized coating used to protect metal surfaces from corrosion.
Preparation
Welding
- Once the parts are tacked and prepared for welding, it’s important to clean the edges, even if wire attachments are used. While the design allows for welding through paint, welding on bare metal typically results in better weld quality.
Welding Guidelines :
-
Fitment & Tack Welding: Once satisfied with the fit, mark out where tacks will go to ensure a clean, uniform weld. Weld from tack to tack for consistency.
-
Procedure Approval: Always consult the engineer for welding procedures, as they must approve and sign off on the final product. Welding must be done by a qualified welder.
-
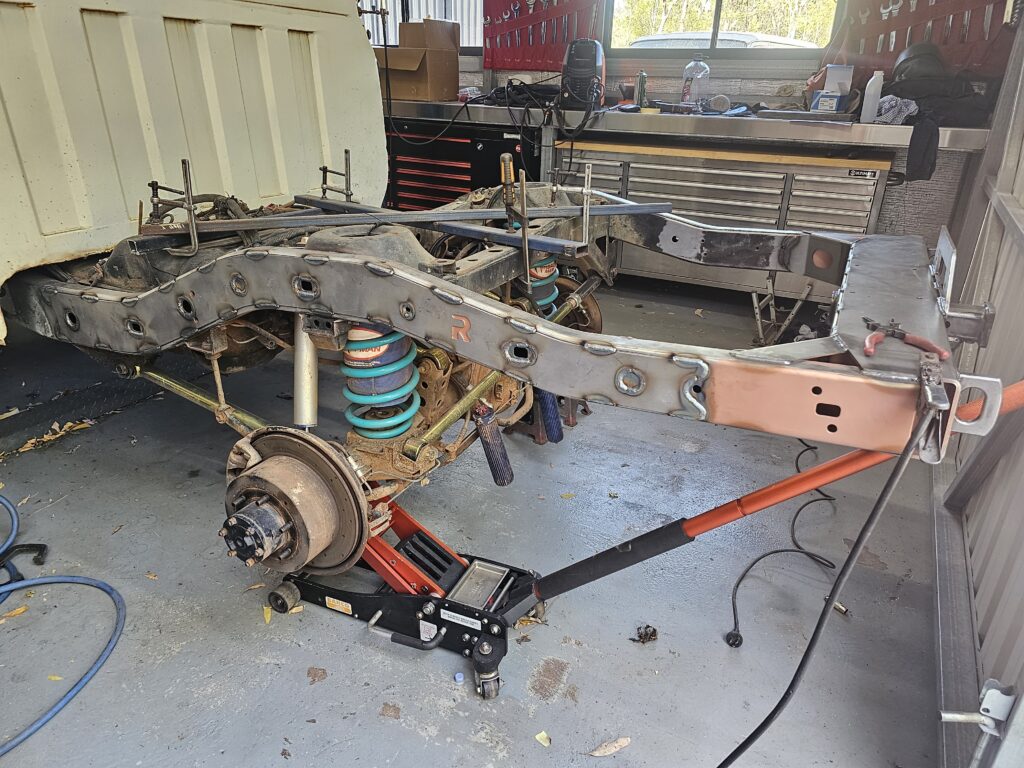
Welding Pattern: Standard practice is 50mm welds with 80mm gaps, plus full corner welds, plug welds, and seam sealing the rest.
-
Alternatives: Full welds or tighter stitch patterns (e.g., 25mm on / 25mm off or 50mm on / 50mm off) are used by some shops.
-
Heat Management: Less welding is preferred to reduce heat input, which can damage the chassis and expose internal areas to rust.
Welding Sequence for Chassis :
When welding a chassis, it’s crucial to control heat and minimize warping. To ensure even tension and contraction as the welds heat and cool, weld corresponding spots on one side and, while still hot, weld the same area on the opposite side. This balanced approach helps maintain structural integrity and alignment.
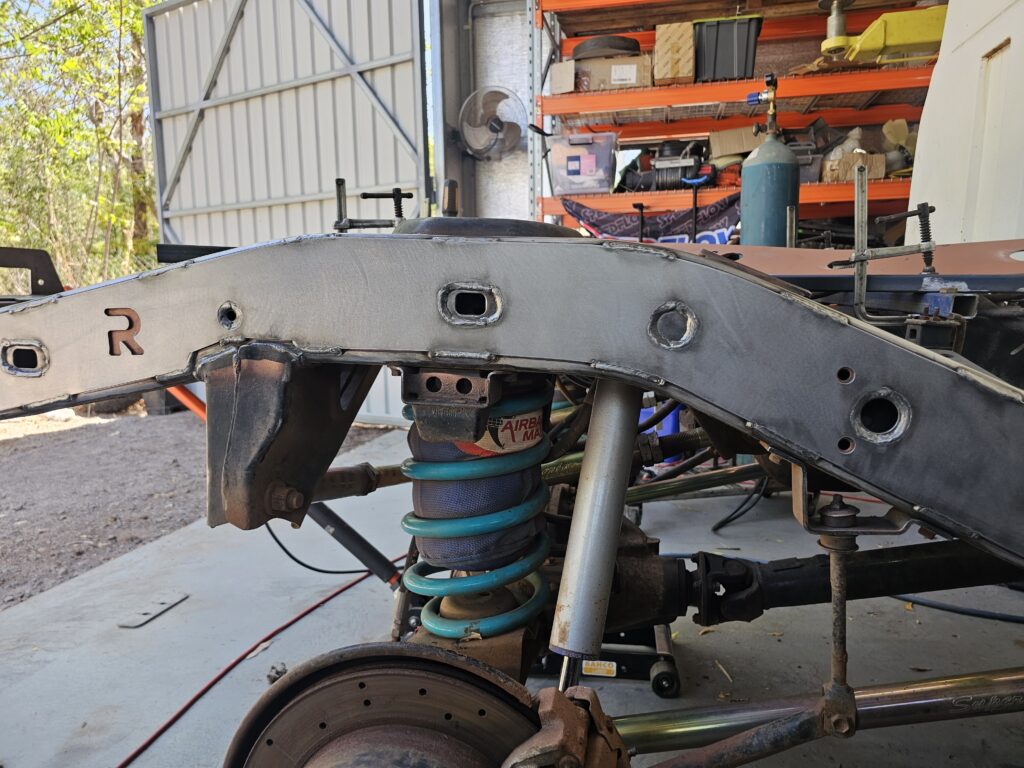
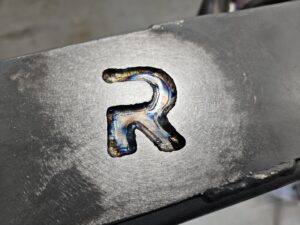
We like to tig weld the R logo to make sure its sealed up. this is purely ascetics and gives the part some feature
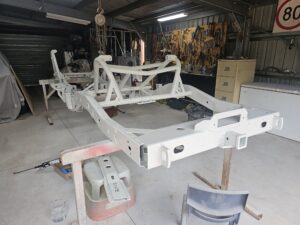
Once the engineer approves the installation, we apply a high-quality marine-grade epoxy primer to seal the steel and prevent corrosion.
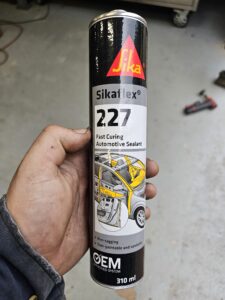
We apply seam sealer to all non-welded edges after sealing the metal with epoxy primer to prevent moisture intrusion and corrosion.

We use a high-quality polyethylene top coat and prefer a satin black finish, which gives the chassis a neat and refined appearance.