Isuzu NPS Broken Shock Mounts – Do this upgrade: Isuzu NPS Heavy Duty Shock Mounts (Models: 2008-2024)
The rear shock mounts on Isuzu NPS 4X4 trucks is a common failure point, particularly under heavy loads, off-road driving, corrugated roads and towing. Our engineered kits can be installed to either repair broken shock mounts or as a preventative upgrade to give extra piece of mind if you are doing regular off-roading or carrying heavy loads.
View the Isuzu NPS 4×4 Heavy Duty Rear Shock Mounts Upgrade Kit
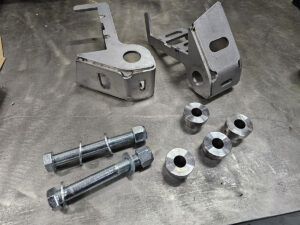
Fits Isuzu NPS 2008-Current:
Isuzu NPS 45/75-155
Isuzu NPS 75/155
Isuzu NPS 250
Isuzu NPS 250/300
Isuzu NPS 300
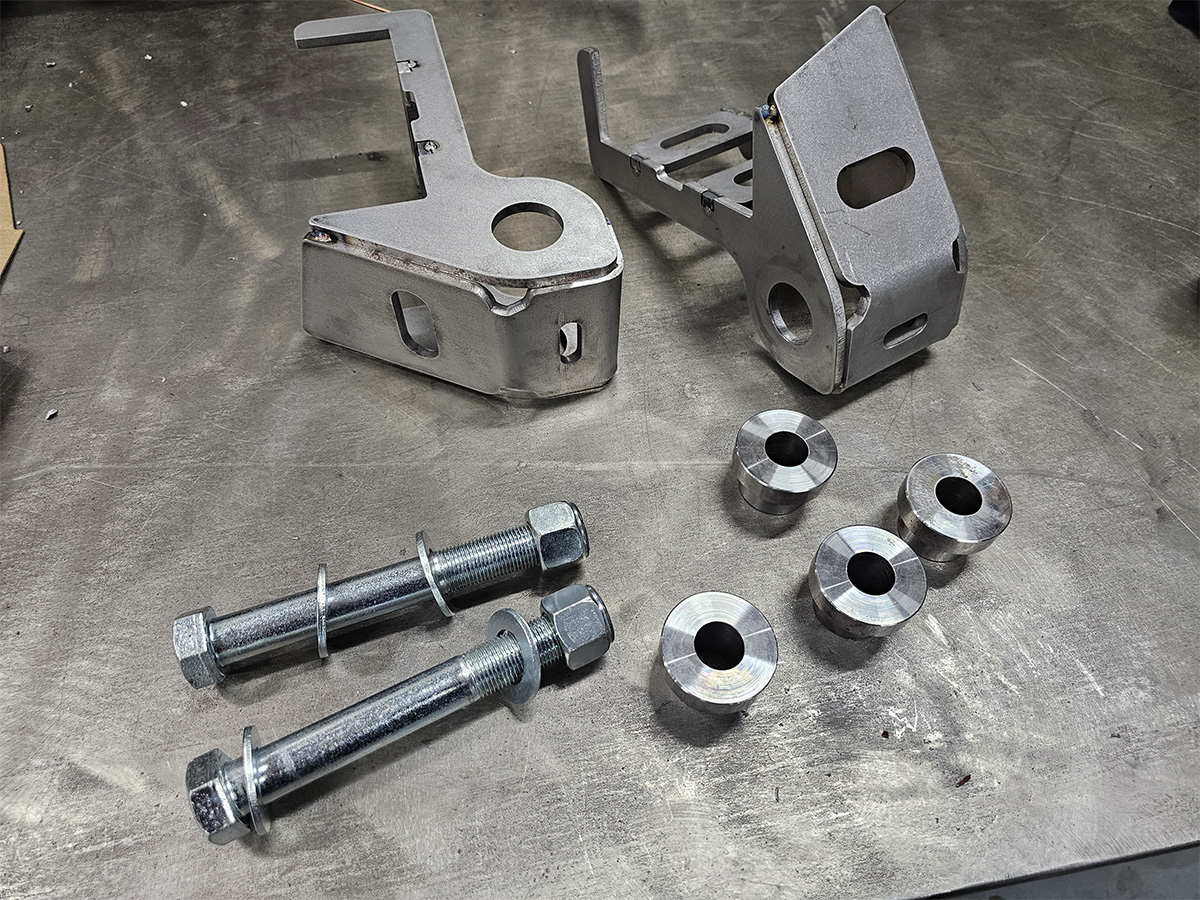
Kit contents:
- 2 x 19mm bolts and lock nuts
- 4 x washers
- 4 x machined top hat spacers
- Left and right mounts
- BEFORE YOU START MAKE SURE YOU HAVE LEFT AND RIGHT PARTS
Key points:
- Parts are oiled to prevent rust, must wash down with brake cleaner, and prepare edges by lightly sanding the edges back to clean steel (any mill scale or CNC cut edges) lastly acetone entire part before welding.
- Do not tack weld or weld with the shock connected to the mount, this can arc out the internals of the shock damaging it.
Welds completed as a part of this installation must be compliant with AS/NZS 1554.1 2014 Category SP
For compliance to the code, the fabricator or welder will need to have aa tested and approved / authorized WPS with traceable PQR.
Who ever welds to the WPS will need to be qualified to the WPS. Make sure to state that in there.
For GMA Welding – Use a Low Hydrogen Welding Wire with the correct gas stated in your approved WPS
For SMA/MMA Welding – Use a Low Hydrogen Electrode Rod and follow the approved WPS
WPS: Make sure to comply with the WPS amps, volts, travel speed and gas flow and any testing requirements for completed welds.
- This is a weld together kit, Refer to engineer of choice for weld processes and use of product in your country or state. Refab Engineering is not liable for any welding.
- When welding to axel housing remove diff filler plug to ensure pressure is released. Run vehicle for a short amount of KMs after job is complete and change diff oil to ensure no metal has entered the oil from welding.
Preparing mount for fitment:

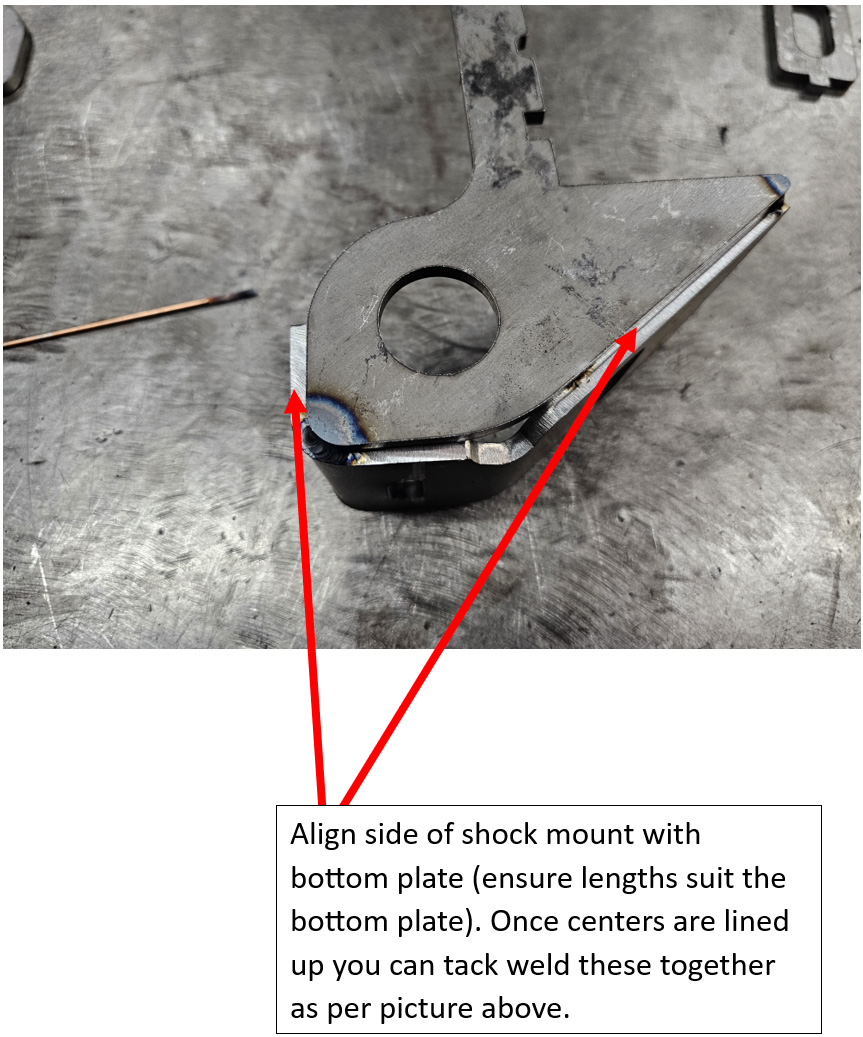

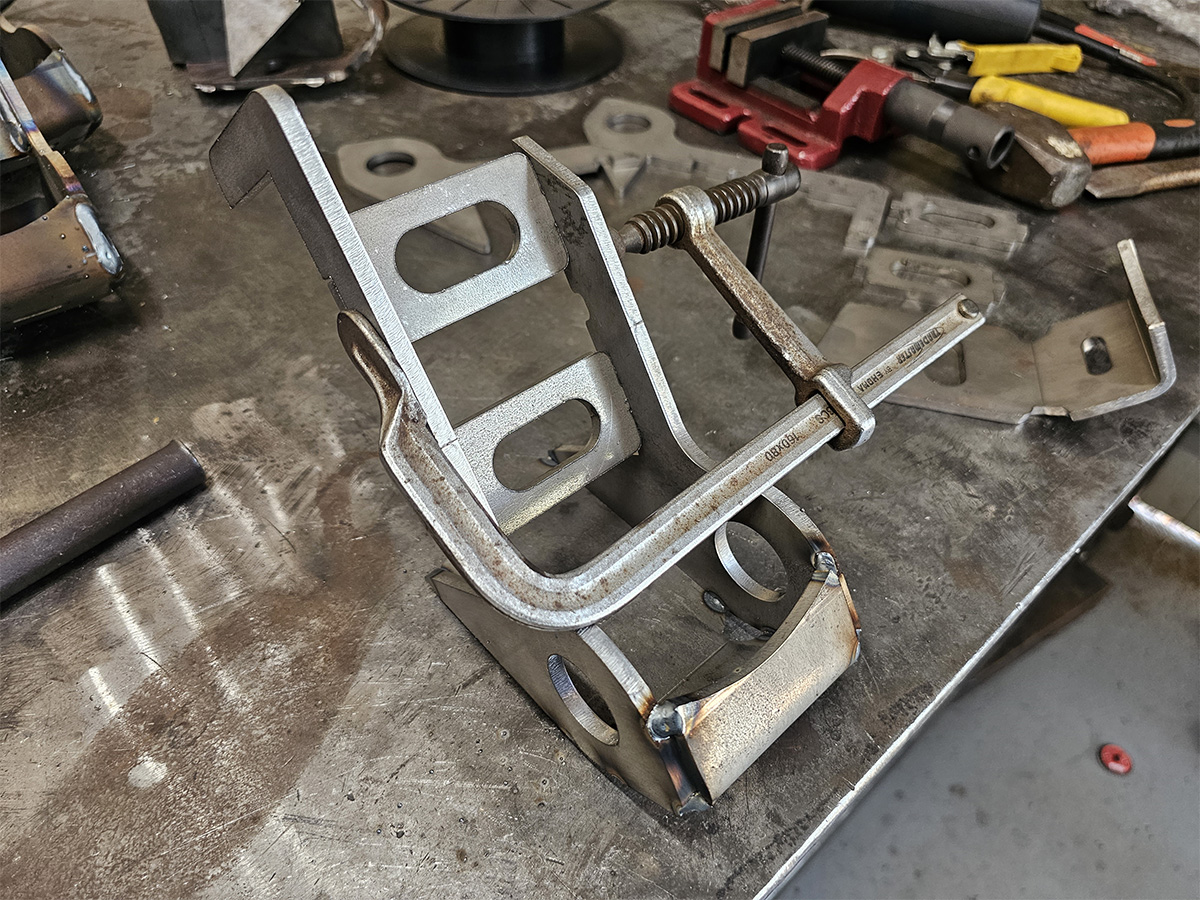
Use a clamp to ensure everything is square, measure with a steel ruler top and bottom to ensure everything is square.
Repeat these steps for both left and right mounts.
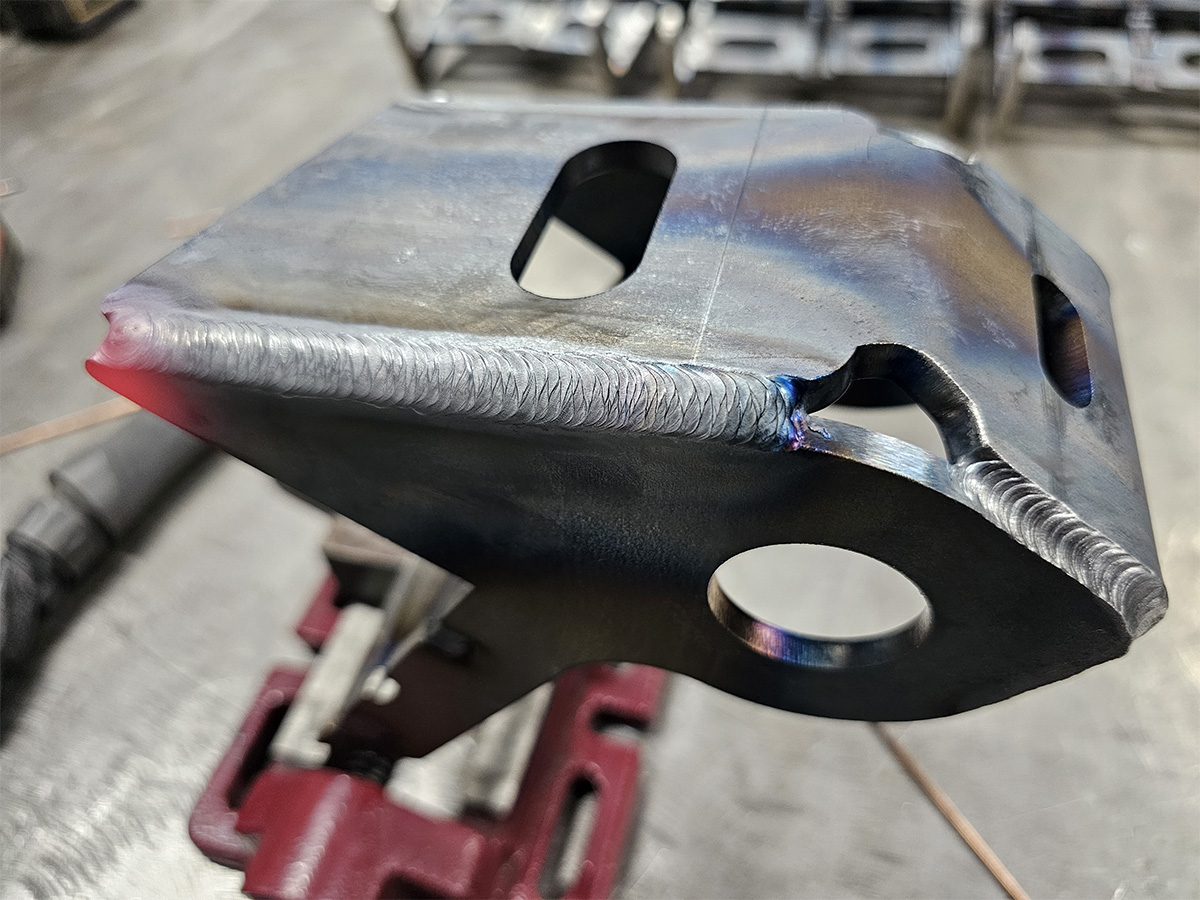
Weld both mounts.

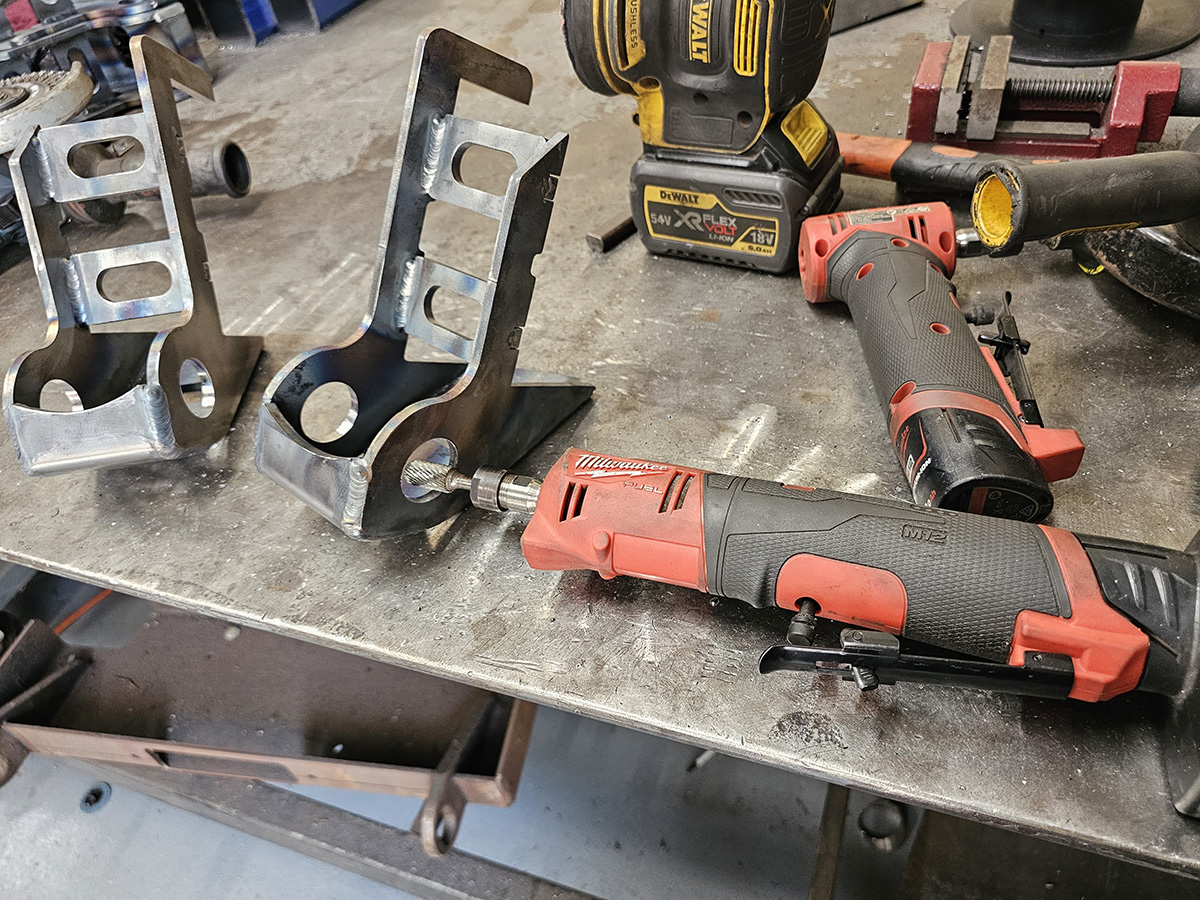
After welding lightly grind the hole as the tolerances are tight, do not elongate the hole, it doesn’t need much grinding at all. Use machined top hat spacer to test fit hole size.
Before installing the mounts to the axle ensure a proper test fit of the shock in completed on the bench. Due to this being a fabricated mount and the tolerances being tight this could distort with welding or improper fit up.
Make sure the shock is held tightly in place (shim with washer and grind down spacers to suit if necessary). Locking nuts or nylock are a one time use, ONLY use for finally fitment. ( use a G clamp to do this process )
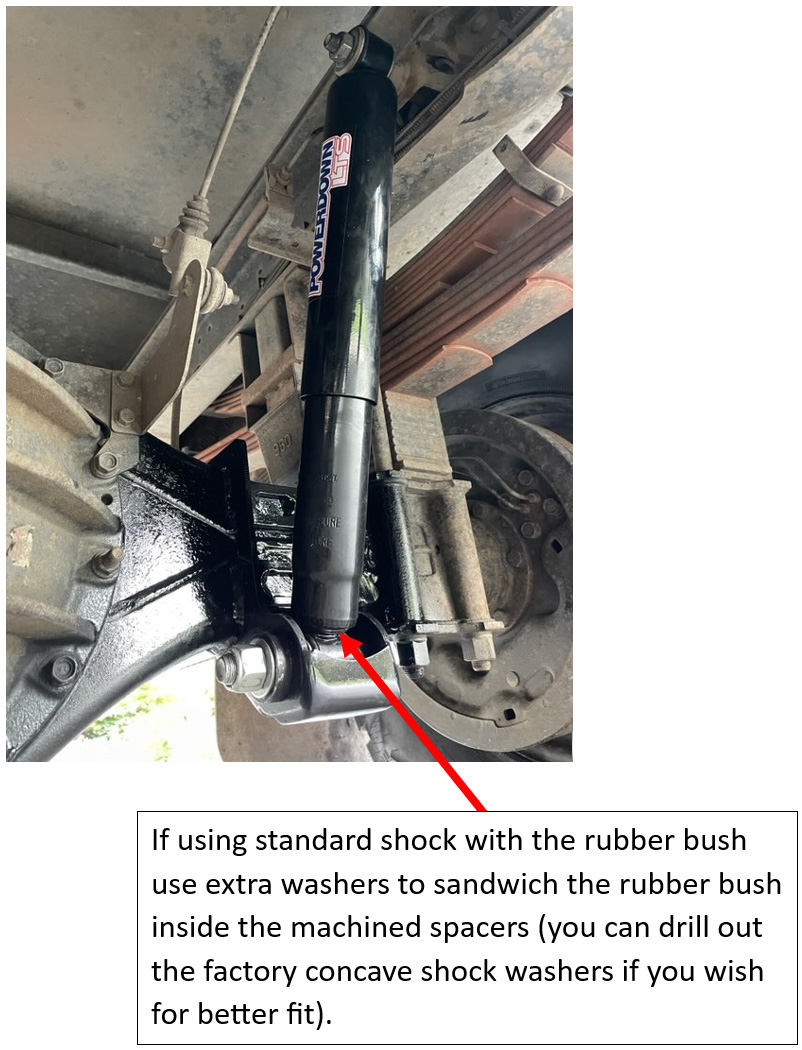
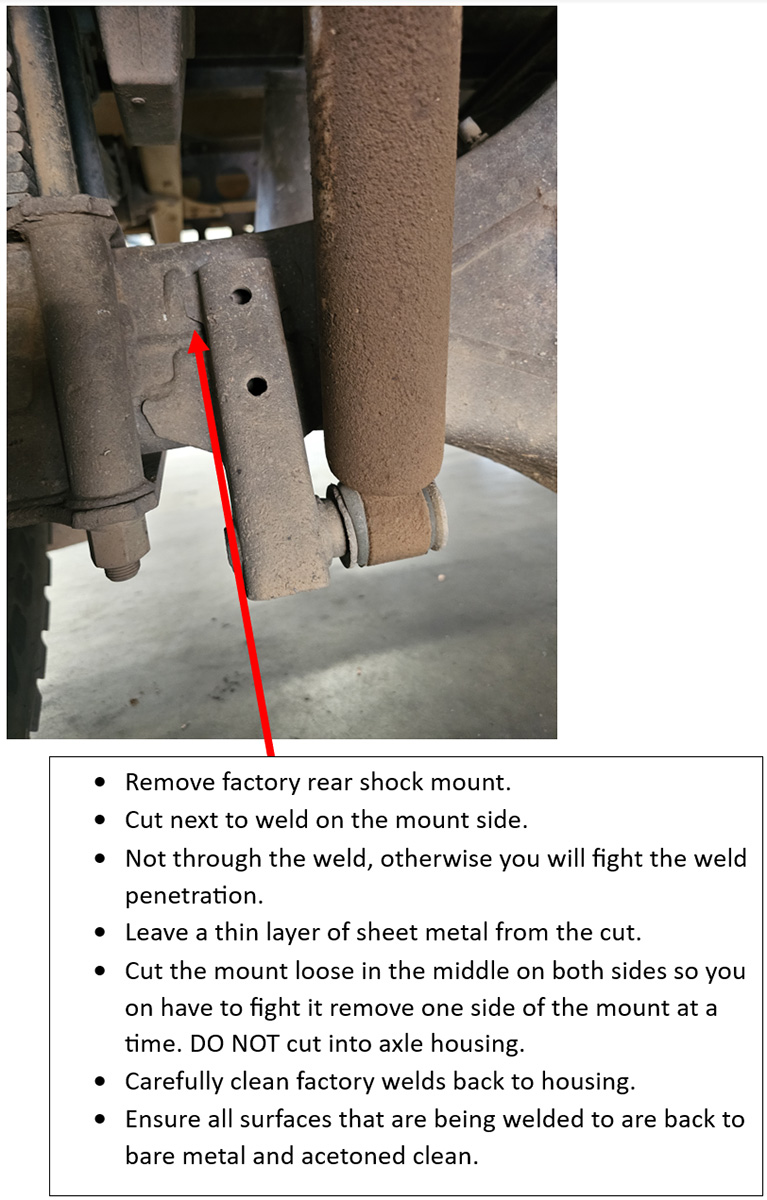
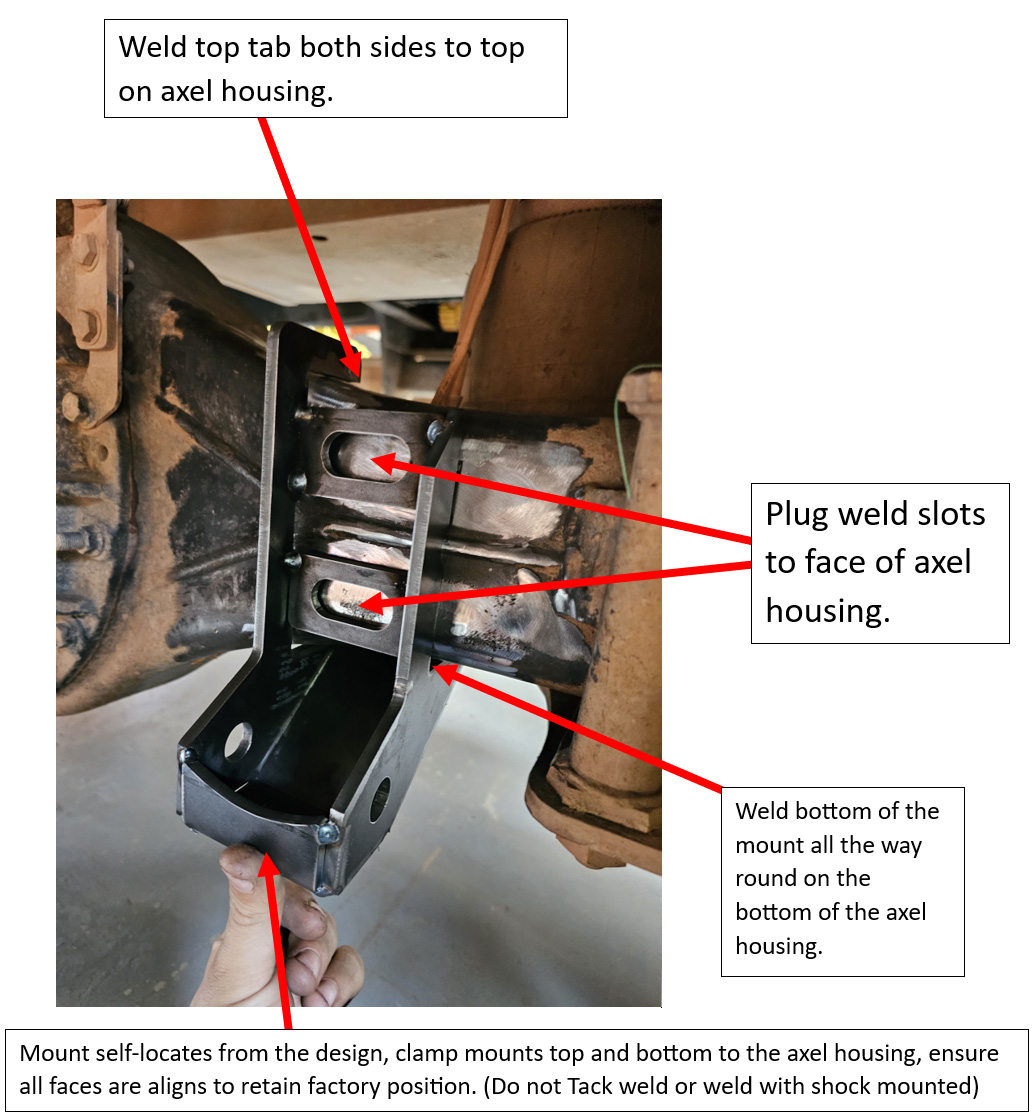
Make sure to take time when welding, one weld at a time and ensure axel housing has cooled before welding again (improper welding can warp axel housing and lead to leaking oil seals)
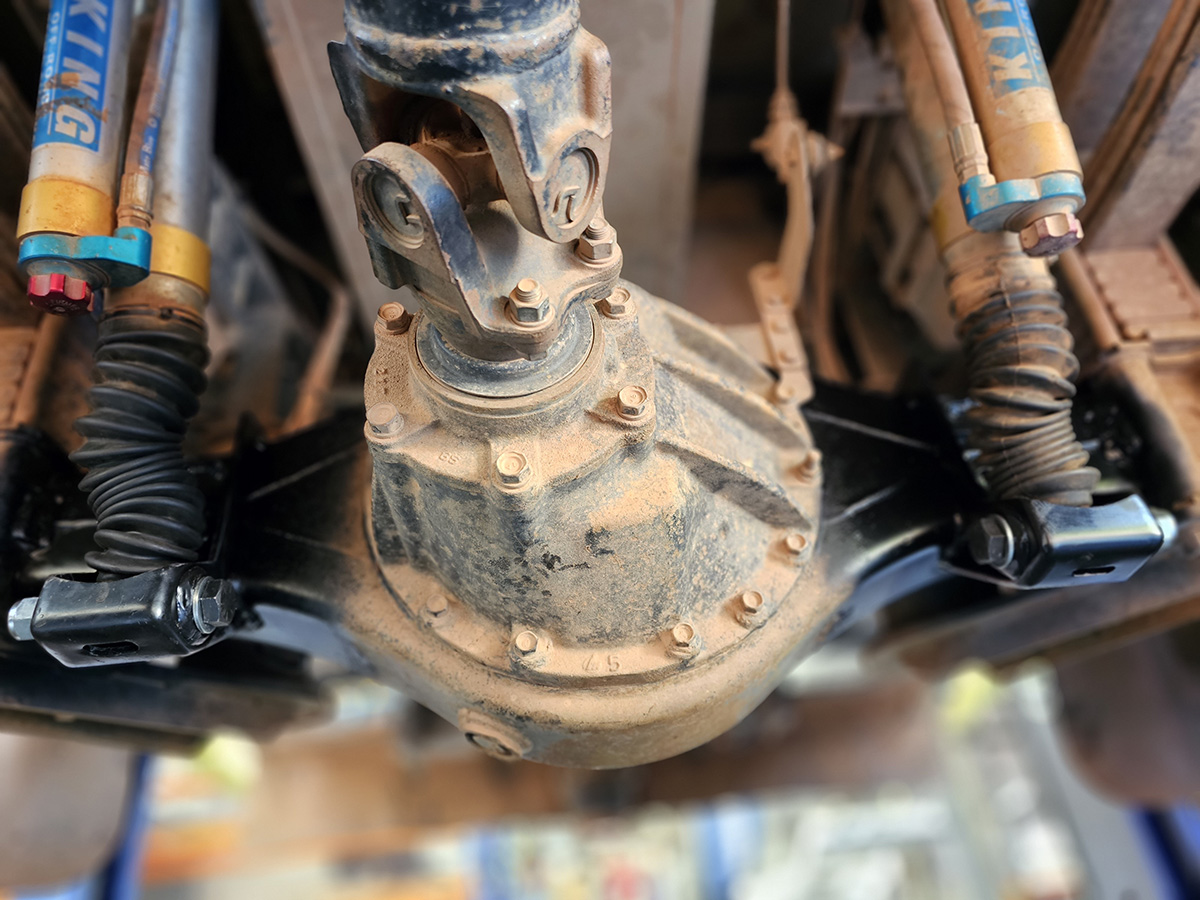
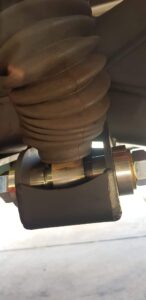 Finshed Mount do not weld Stainless Top hat spacers These just bolt on
 Kings heim joint Shock lay out must use 12mm spacers supplied with kings shock
If you have any questions please email: [email protected]