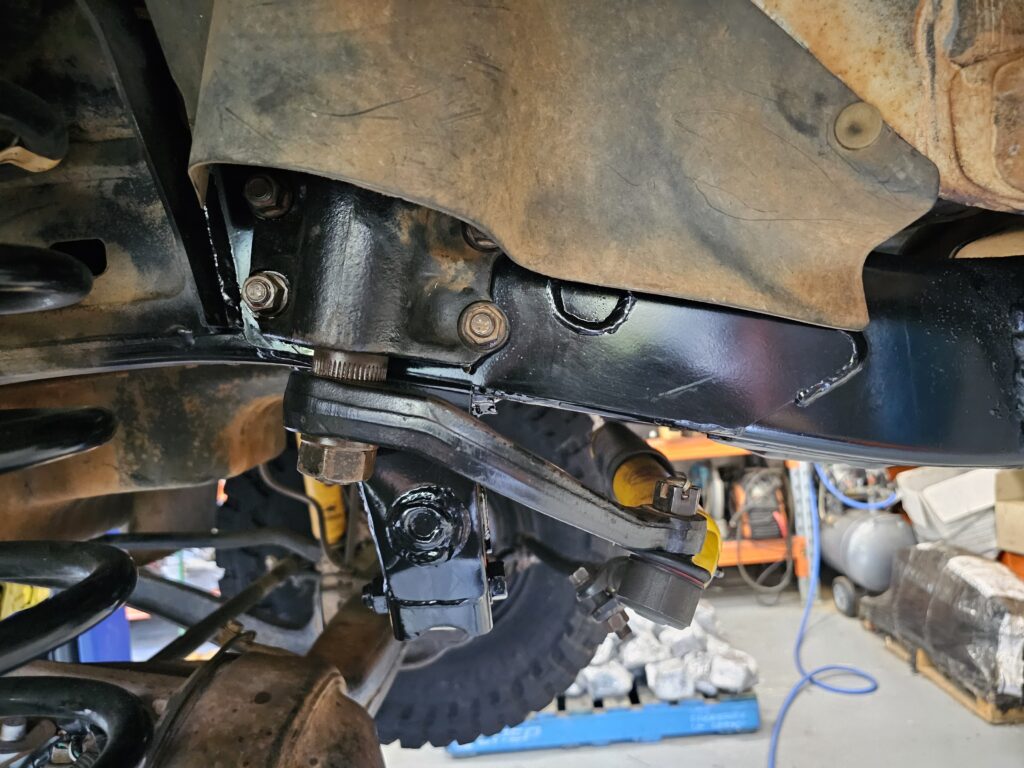
80 / 105 Series Land Cruiser Steering Box And Panhard Brace Kit
The steering box and panhard brace in the 80 series and 105 series Land Cruiser is a known weak point in the chassis, particularly if you are running bigger tyres and off-roading.
80/105 series steering box and Panhard brace kits fix and prevent a cracked chassis a must have item when chassis is stripped or even fitting for piece of mind to prevent chassis failure. Protect your pride and joy, the last thing you need is to spend thousands on wheel and suspension upgrades and then break your chassis out in the bush.
We have engineered and designed a unique one piece steering box and panhard mount that has 4 folds in it to create maximum strength and offer a professional repair or preventative upgrade to your chassis.
View the 80/105 Series Land Cruiser Steering Box Panhard Brace Kit
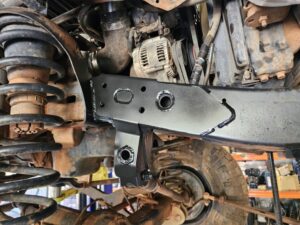
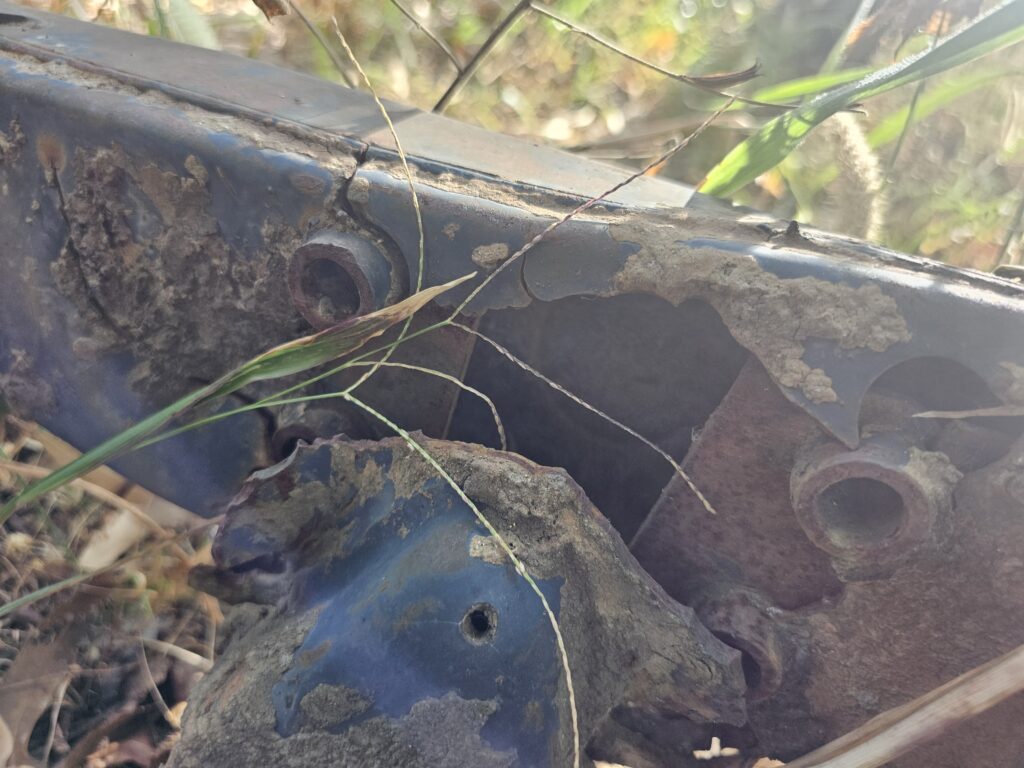
The 80 and 105 series chassis, while known for their durability, have some common weak points that can cause serious issues over time if not addressed. These weaknesses typically involve areas where the chassis can crack or bend under stress In many cases behind the steering box and panhard mount starts to crack.
Fitting a reinforcement kit will significantly enhance the rigidity and reliability of the chassis, preventing future structural issues and prolonging the life of your 80 or 105 series vehicle. This proactive step helps maintain the vehicle’s overall performance and strength, especially under heavy use or off-road conditions.
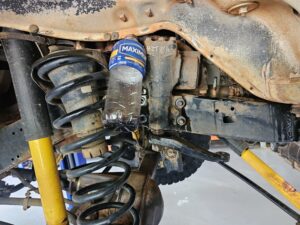
Summary for Welding Preparation:
- Disconnect the battery to avoid any electrical issues during welding.
- Drain the power steering fluid by removing the fittings on the steering box.
- Drain the coolant by removing the bottom radiator hose. If the coolant was recently replaced, catch it in a clean bucket to reuse.
- The bottom radiator hose must be removed to provide clearance for accessing tools.
- Remove factory steering box and drag link Before removeing steering box make sure your steeing wheel inside car is held center you can tie it in place with straps.
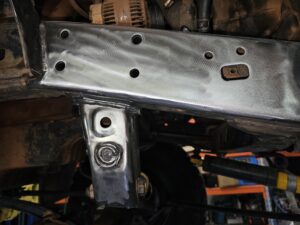
To prepare the surface for welding and painting: Use a paint stripper grinding wheel and a wire wheel to avoid damaging the steel. Finish by smoothing the area with 120-grit on an orbital sander. This ensures a clean, well-prepped surface for welding and painting.
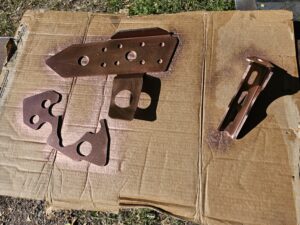
Weld-through primer is a specialized coating used to protect metal surfaces from corrosion.
Preparation
Welding
- Once the parts are tacked and prepared for welding, it’s important to clean the edges, even if wire attachments are used. While the design allows for welding through paint, welding on bare metal typically results in better weld quality.
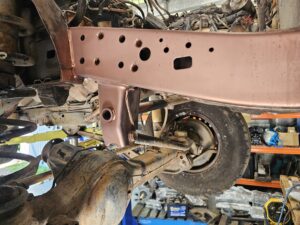
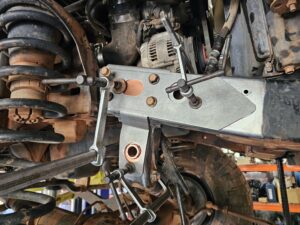
It’s important to bolt the outer plate using the factory bolts to ensure the plate sits flat. You’ll need to use clamps and adjust the steel to match the shape of the panhard. This is a general fabrication technique.
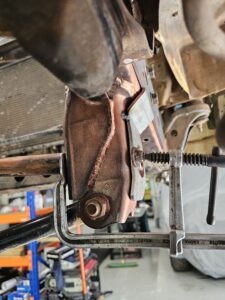
Tack and Clamp as you go !
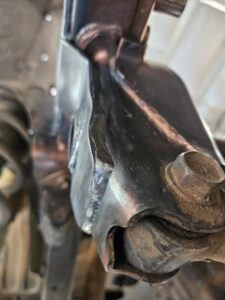
The panhard mount requires some hammering and metal finishing due to its shape. With fabrication skills, you can achieve a neat installation. A helpful tip is to use a Rawhide Hammer, which has a soft face that won’t damage the steel while providing enough force for assembly tasks.
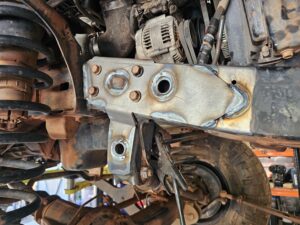
Outer plate fully welded
In the shop, we perform welding according to standard procedures, but some engineers may request more or less welding based on their specifications. Additionally, we seam seal parts that aren’t welded to prevent corrosion.
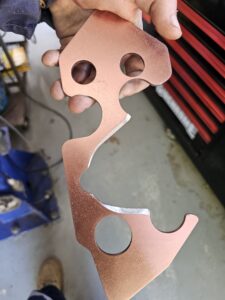
To address clearance issues with the back of the inner plate, if the factory weld is preventing it from laying flat, the solution would be to carefully bevel any edges like in the photo.
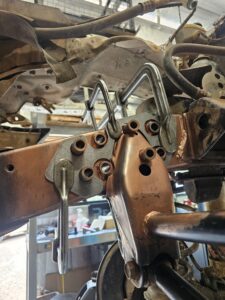
Clamp and tack inner plate in place
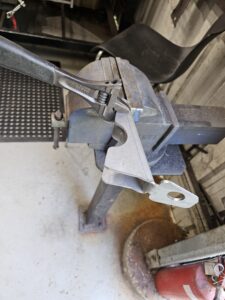
The manufacturing process of these parts requires special tooling, In the press its very tight. To adjust the flanges for a perfect fit, the best method is to clamp them in a vice and use a shifter . Take your time to ensure everything fits correctly.
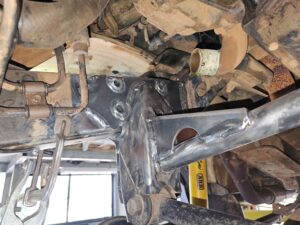
- It’s important to weld all crush tubes to the inner plate, as this significantly increases the strength of the chassis.
- The crush tubes are left long during welding to prevent the parent material from overheating and losing its strength. It’s best to cut and sand them to the correct length after welding.

After welding and cleaning, apply a high-quality primer and top coat, using two coats for better protection. Satin black is a good choice as it blends well with factory colors, while gloss may not look ideal on a chassis.
Steps to Bleed the Steering Box:
-
Ensure Fluid is Filled:
- Start by ensuring the power steering reservoir is full of the correct type of fluid. Do not overfill it, but make sure it’s above the minimum mark.
-
Lift the Vehicle:
- If necessary, jack up the front of the vehicle and place it securely on jack stands. This will make it easier to rotate the steering wheel without any load on the tires.
-
Start the Engine:
- Start the engine and let it idle.
-
Turn the Steering Wheel:
- Have someone sit in the driver’s seat. Slowly turn the steering wheel all the way to the left and then to the right. Go from one lock to the other (full left, full right) several times. This helps to push the fluid through the system and expels air.
-
Check Fluid Level:
- Keep checking the power steering fluid level in the reservoir as you turn the wheel. If the fluid level drops, top it up to the correct level.
-
Check for Air Bubbles:
- While turning the steering wheel, you should hear the power steering pump working. If you hear whining noises or if the steering feels heavy, there’s likely air in the system. Continue to rotate the wheel to purge the air out.
-
Repeat:
- Repeat the process of turning the wheel from full left to full right until you no longer hear air bubbles or the whining noise, and the steering feels smooth.
-
Final Check:
- Once you’ve completed the process and there are no more air bubbles in the fluid, check the fluid level one final time and top it up if necessary.
-
Lower the Vehicle:
- If you lifted the vehicle, lower it back to the ground once you’re satisfied with the fluid level and the system is bled properly.
-
Test Drive:
- Take the vehicle for a short test drive to ensure the steering is smooth and there’s no whining noise or resistance in the wheel.
Notes:
- Always use the correct type of power steering fluid specified
- If you continue to experience problems with the steering after bleeding the system, there might be an issue with the pump, steering box, or hoses, and you should inspect them for leaks or damage.
If you’re still having trouble or hear a lot of noise after bleeding, it could be worth checking for leaks in the system, as air can be drawn in if there’s a problem with seals or hoses.
