80/105 Series Land Cruiser Rear Cross Member Replacement Winch Bar
Refab Engineering Rear Cross Member Replacement Winch Bar
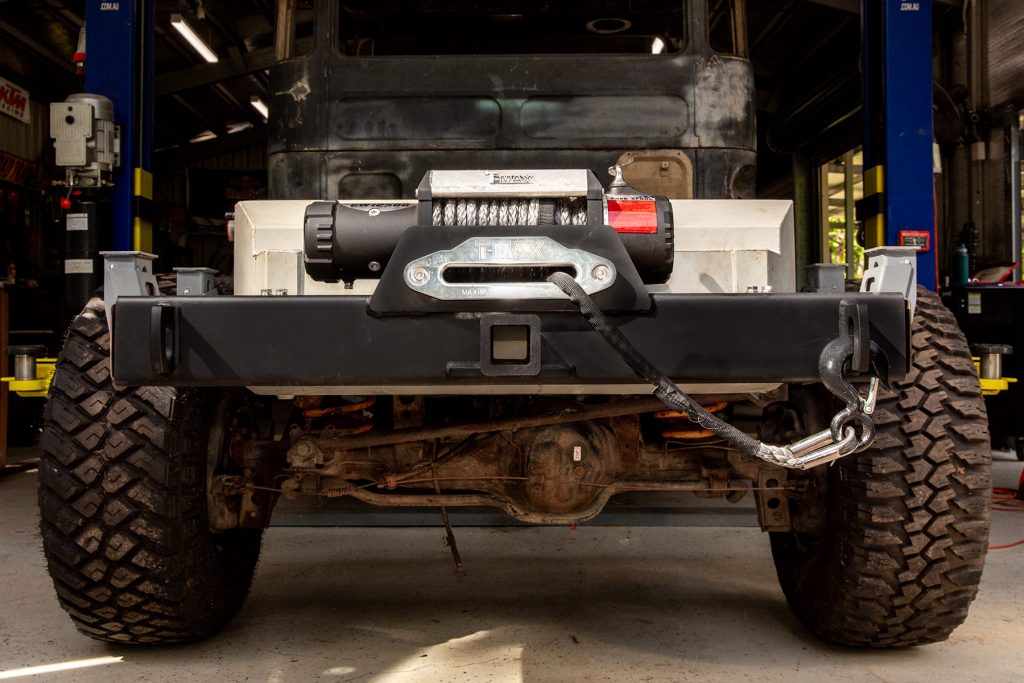
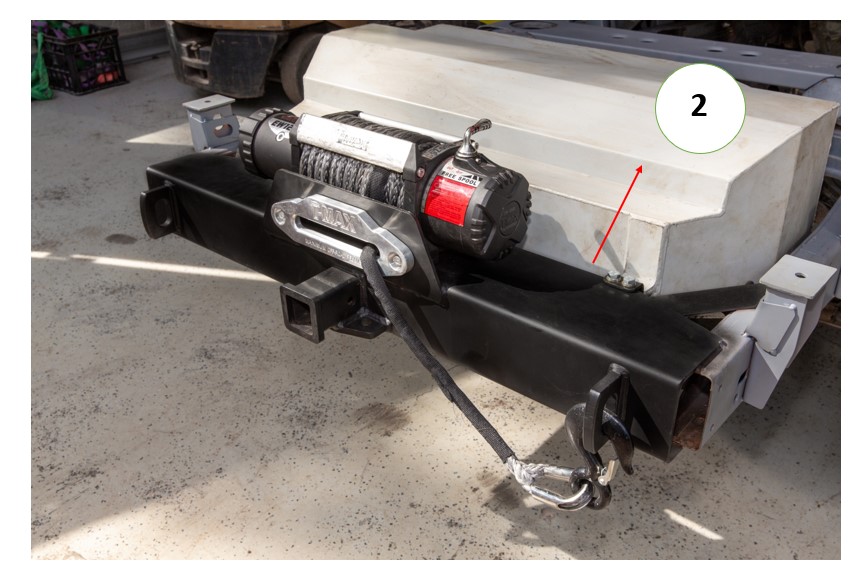
The 80/105 series factory rear cross member is weak so this is the perfect solution to beef up the rear end. This has an integrated tow hitch receiver for maximum ground clearance, 16mm machined recovery points (soft shackle compatible) and a winch plate all in one.
PLEASE PRINT AND READ THESE INSTRUCTIONS BEFORE BEGINNING THE WORK.
YOUR NEWLY PURCHASED REAR CROSS MEMBER IS COMPLIANT WITH ADR62/02 WHEN INSTALLED IN LINE WITH THE BELOW INSTRUCTIONS. PLEASE NOTE YOU MAY STILL NEED TO CONTACT A LOCAL ENGINEER TO APPROVE THE INSTALLATION. CONTACT YOUR LOCAL REGULATOR FOR FURTHER GUIDANCE.
CHASSIS MUST BE FREE OF CORROSION AND DEFECTS FOR THIS BAR TO BE FITTED.
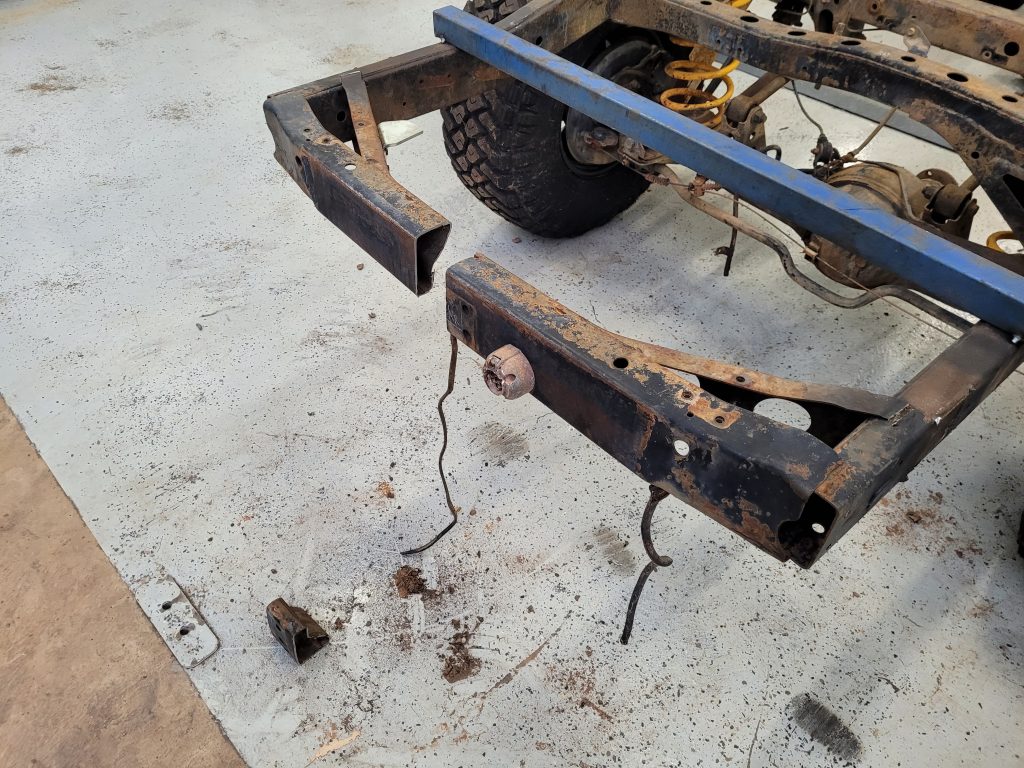
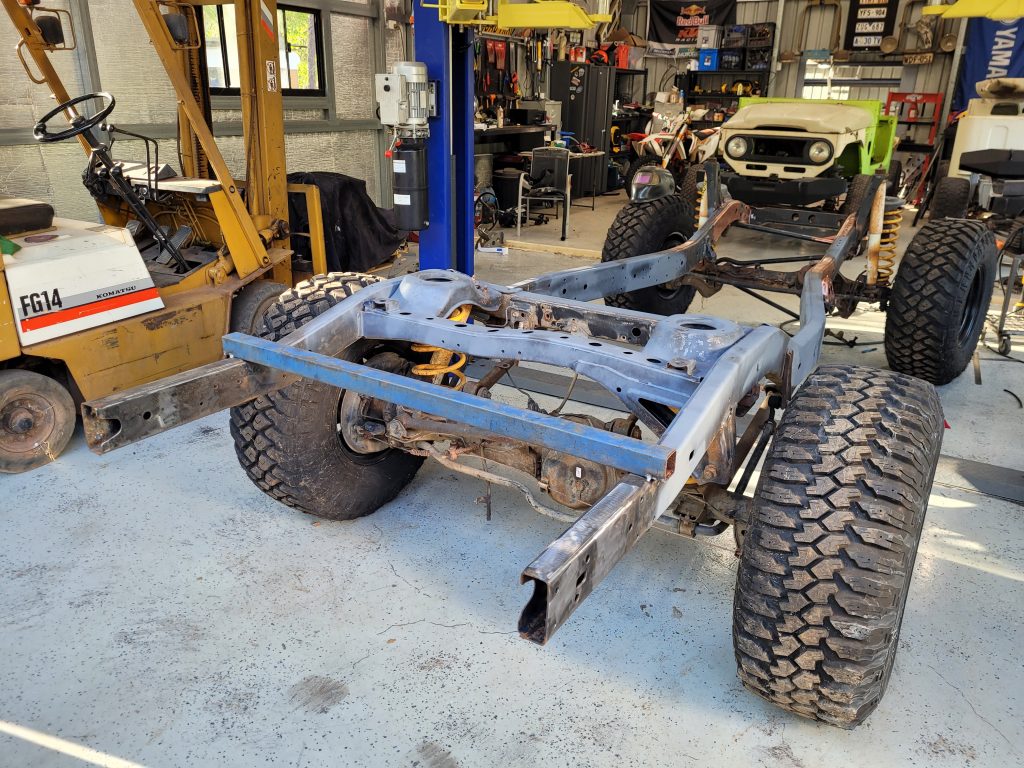
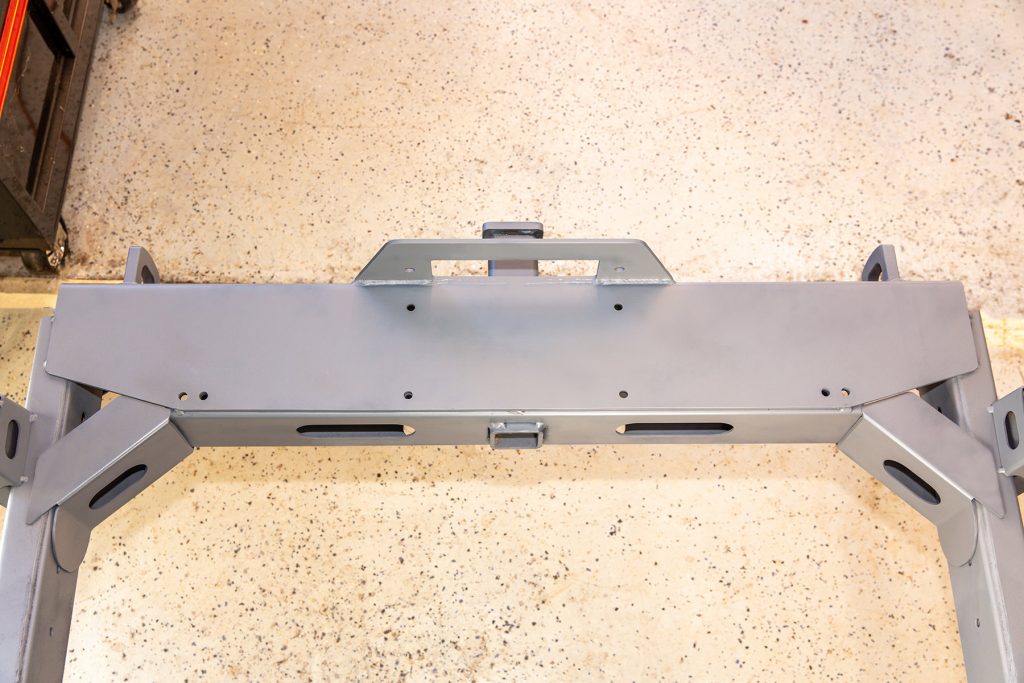
Stripped down rear chassis ready for removal of factory cross member. Note the blue brace tacked in place roughly 400mm forward of the original brace.
Step 1: Chassis preparation.
Important Note: Ensure you tack weld a brace in place before removing the factory cross member. This ensures the chassis rails don’t move.
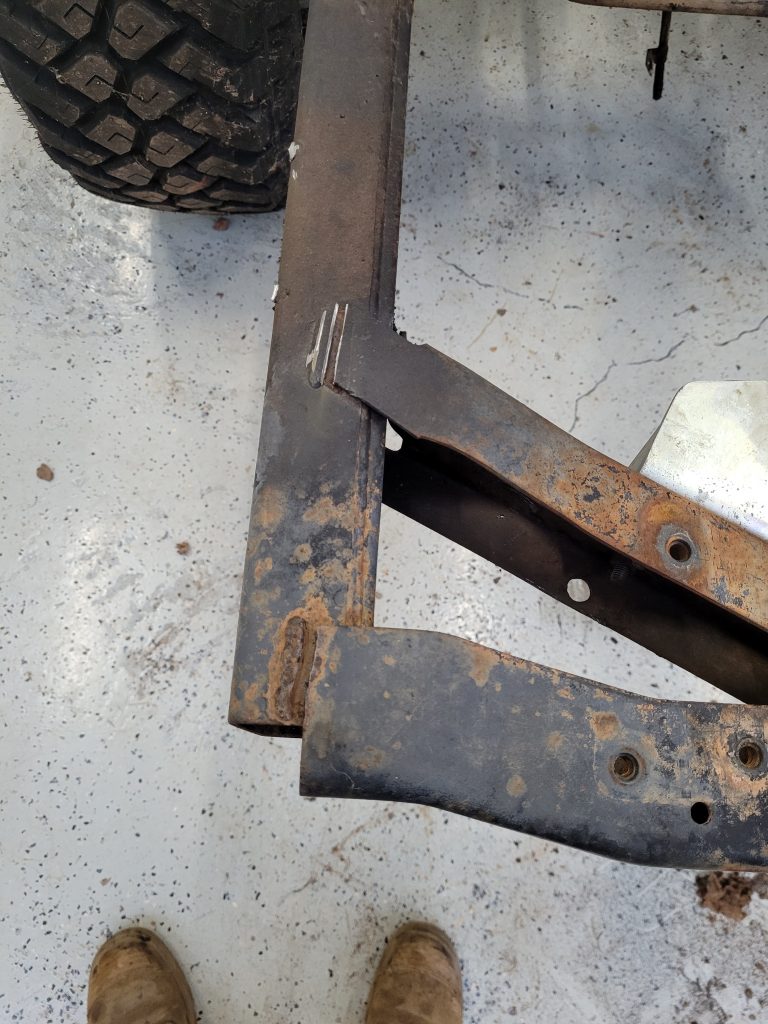
Step 2: Removal of Factory Cross Member
Remove the factory cross member by separating the member from the chassis rails. Cut into the factory cross member 2mm inward of the weld to the chassis rail. NOTE: DO NOT CUT INTO THE CHASSIS RAIL. Instead cut almost all the way through and then use a strong blow to fracture the last part of the material.
* The reason for not cutting directly through the weld is that it is easier to cut adjacent to the weld as you are not fighting the penetration of the original weld. Any additional weld remaining can be ground flush once the original cross member is removed. (check chassis preparation blog/guide for further explanation)
Step 3: Dissect Factory Cross Member
Cut the original, factory cross member into multiple pieces for easy removal.
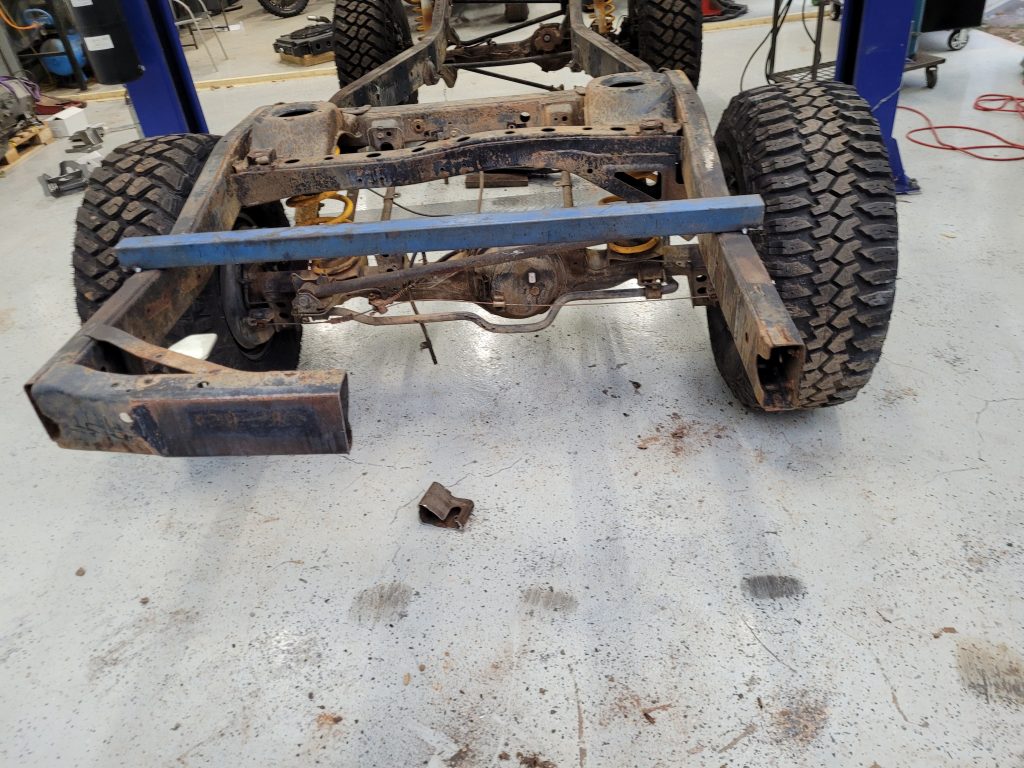
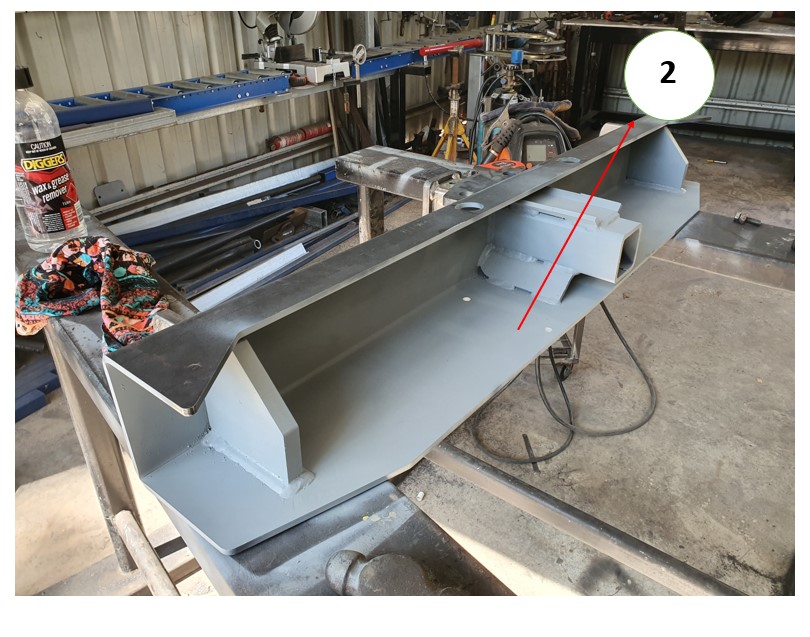
Rear of vehicle with original, factory cross member completely removed and ready for installation of Refab cross member.
Step 4: Clean Rear Chassis Rails
Clean all areas of the chassis rails rear of the temporary brace. Use weld through primer to prevent welded in surfaces from rust (i.e. all areas that cannot be painted once welded).
Step 5: Weld Out The New Cross Member
Welds completed as a part of this installation shall be compliant with AS 1554.1 GP Welds.
Step 6: Cross Member Assembly.
- Weld recovery points to the winch plate. Welds shall be 6mm fillets. Only weld to the inside of the top of the winch plate so water can drain out.
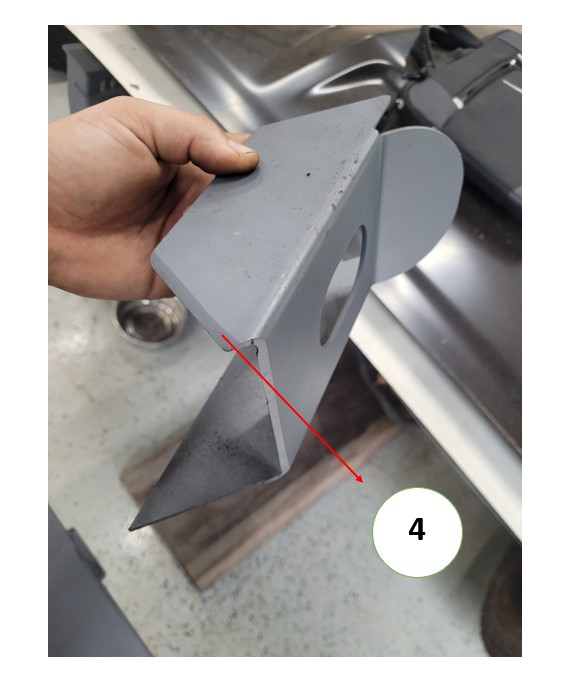
- Weld the first (top), internal, tow hitch gusset as pictured to top inside of winch plate. Ensure part is centred ant tacked up properly before commencing welding.
- Weld all the external side of the recovery points. Weld all the way around outside.
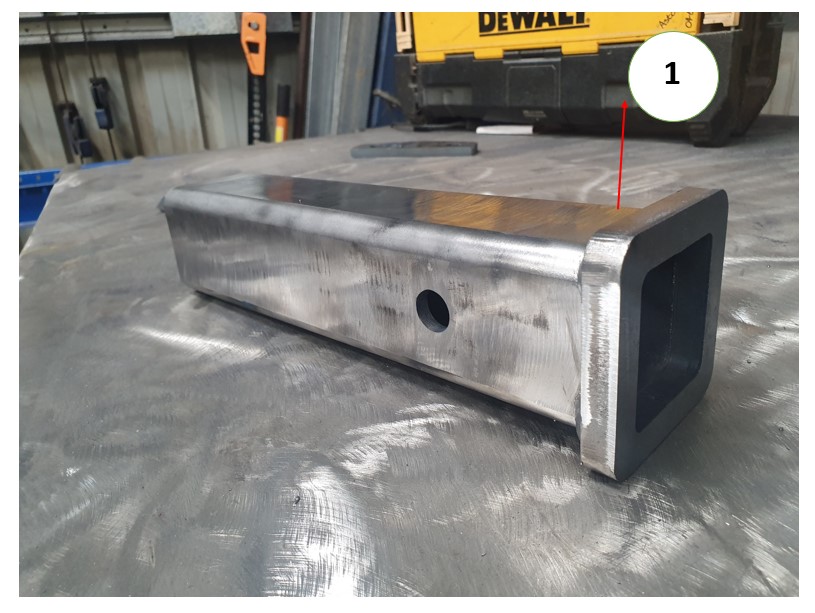
Step 7: Weld 12mm End Cap to Main Body of Hitch Receiver
Weld 12mm end cap onto hitch receiver (tow bar RHS) make sure its closest to the holes check reference photo. The weld shall be 6mm stitch fillet weld 20mm along each rounded corner.
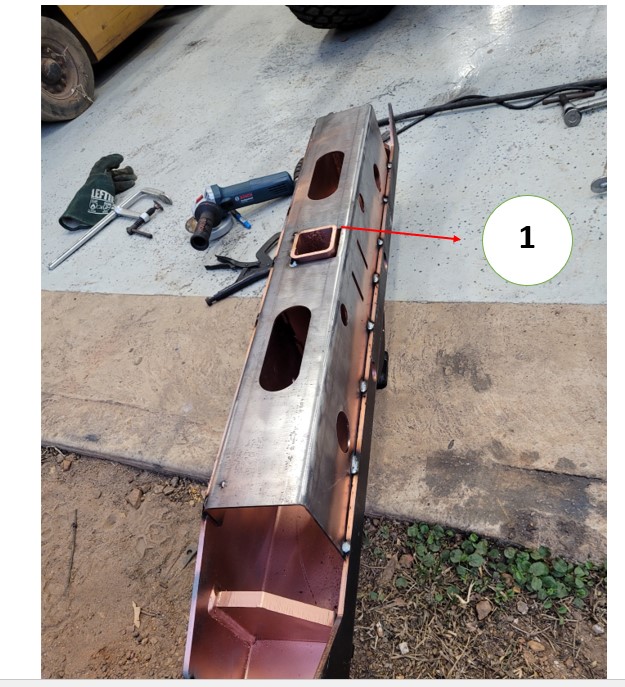
Step 8: Mock Up Rear Cover
- Dummy fit rear cover, line up hitch receiver with 10mm protruding to the rear of rear cover. Tack weld the hitch receiver tow bar to the front of winch plate.
Note the photo above shows the rear cover tack welded in place. This mock up is completed without tack welding the cover in place.

Step 9: Bottom Gusset & Hitch Receiver
- Weld out tow bar internal gussets when happy with fit up. 6mm fillet welds along 80% of the length of each join.
- Use weld through primer on all parts that can’t be painted after welding.
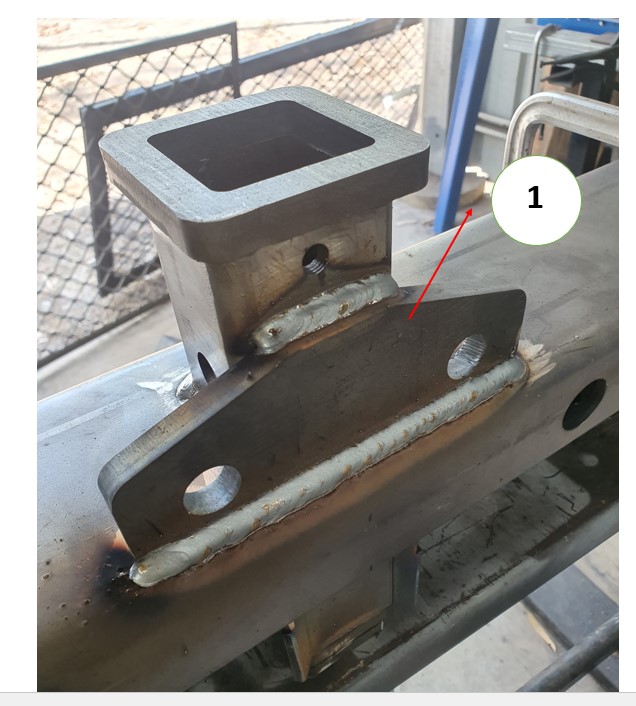

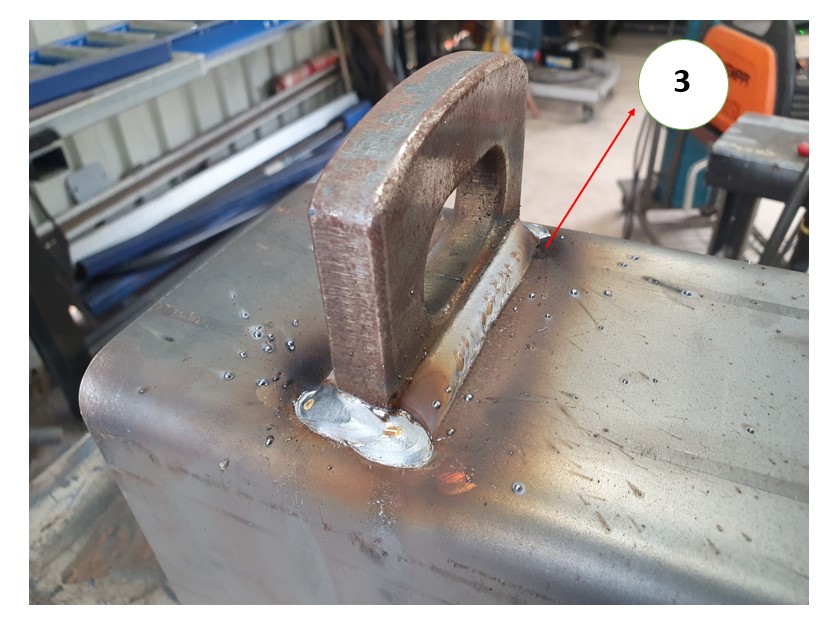
Step 10: Safety Chain and Winch Mouth Plates
- Weld 12mm safety chain plate to hitch receiver. Weld front, external of hitch receiver. Both welds shall be 6mm fillet welds all the way around.
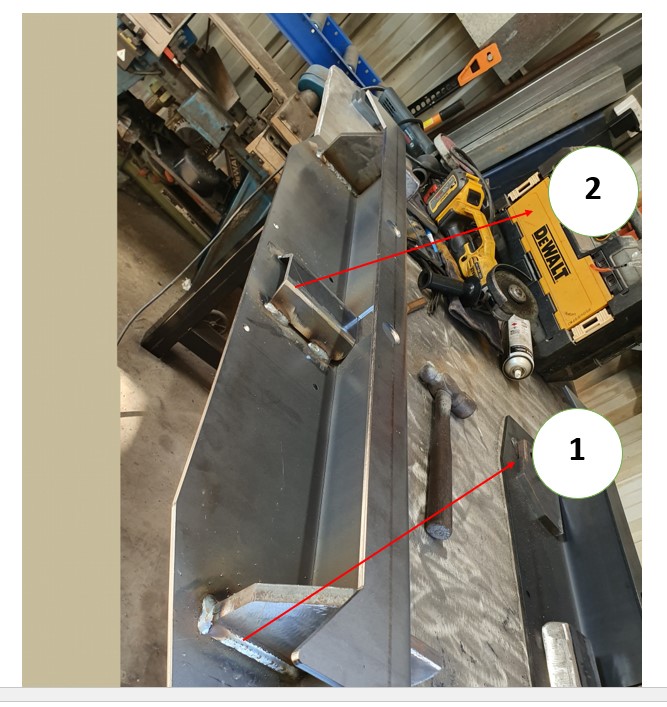
- Tack 6mm winch mouth plate in – matching centrelines then weld in place. Welds shall be 6mm fillet welds. Back side shall be welded all the way long front side to be welded 1/3 of the length of the plate from either side toward the centre – refer to photo above.
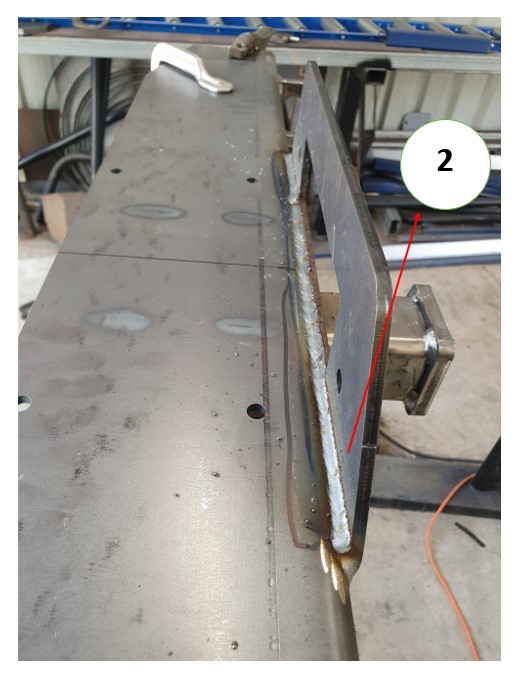
Step 11: Fitting Rear Bar.
- Insert rear panel and tack in place. Weld along top and bottom. Welds shall be 3mm fillets stitch welded 50mm on, 50mm off. Ensure you leave clearance for fuel tank set-up. Note, the maximum distance from the end of the chassis rail to the face of the 6mm winch plate is 50mm.
- Fit the rear bar, and ensure your fuel tank can by mounted. Mark the chassis where the rear bar should be welded in place. Once satisfied, remove fuel tank.
- Bevel left and right side gussets for a stronger weld. Welds as per picture above. Note there is one additional butt weld to be completed on the underside of the tow bar between the gusset and the rear cover.
Welds on Gusset Plates. Red = 3mm fillet. Purple = 3mm butt.

Final Summary
- Have any necessary inspections completed by your Engineer.
- Paint completed assembly the colour of your choice.
- Take a photo of the completed build, along with your compliance plate riveted to the bar and send to: [email protected].
Please study the shop photos and description also check out gallery for reference. If you see any improvements then please email [email protected] Happy building legends!!!